This summer my oldest daughter dove into sewing in a whole new way. One of her biggest projects was a t shirt quilt and today, she is here sharing her story. Please give a warm welcome to my oldest, Lady A.
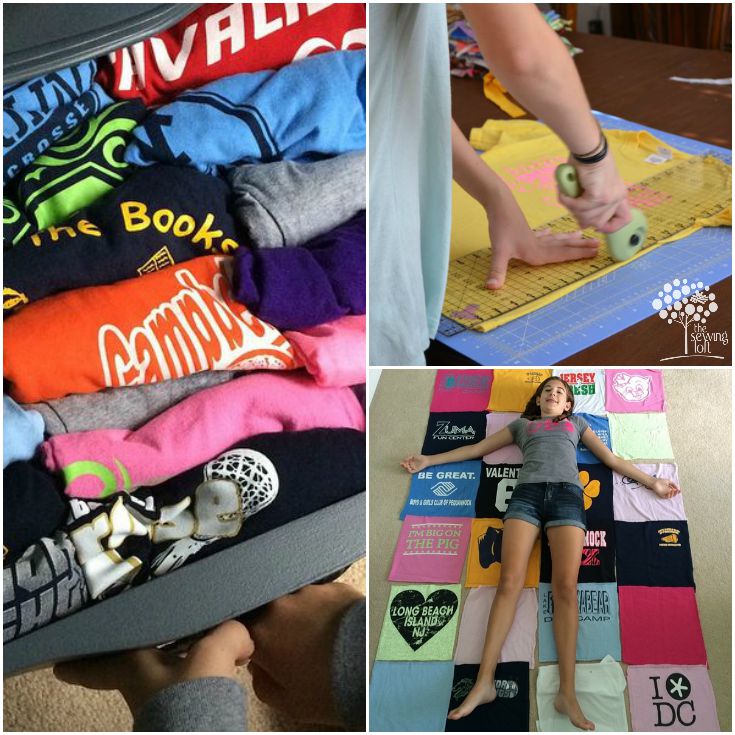
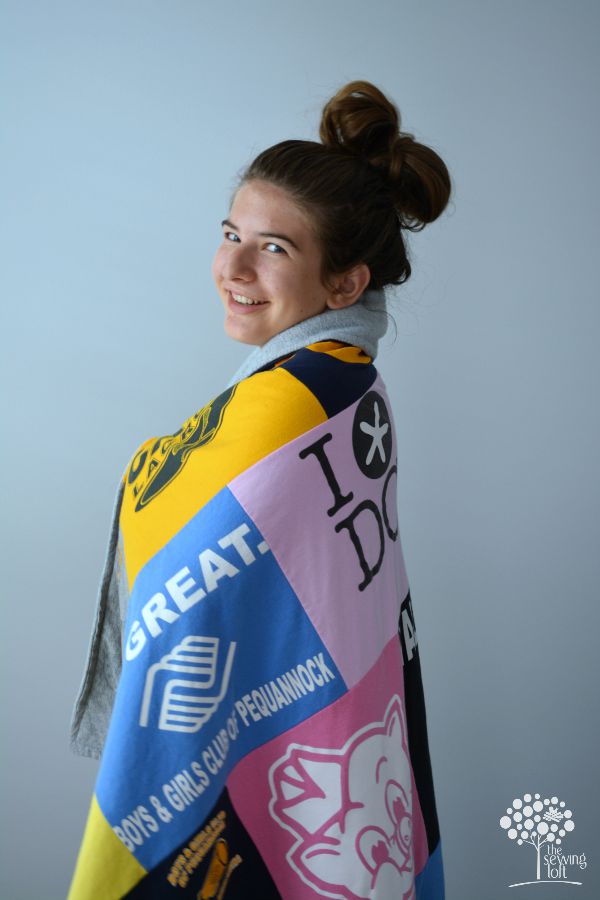
I started out by picking out all of my shirts and cutting them up to all around the average size (13”x13”) making sure to include the logos on them.* Once you have them all nice and cut take the time to lay them out the way that you want them. I’m not a tall person, I am 5’2”, so I may have used less shirts then you may need to. I like my blankets nice and big so that I can wrap myself into them. Saying this, I laid my quilt out so that it was roughly 5’x6’.**
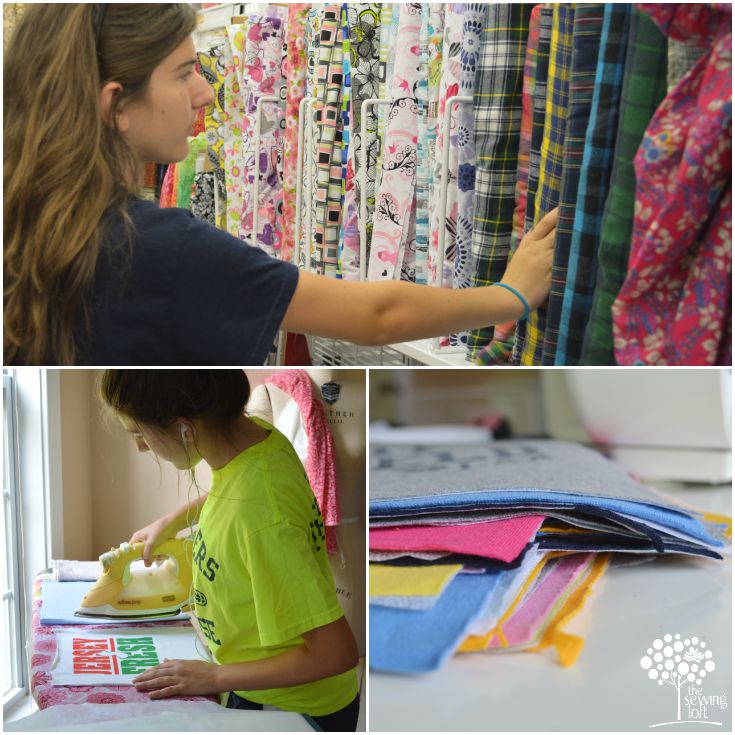
Here’s the fun part, time to go to the fabric store! My mom was nice enough to drive me out to the nearest Joann store and fund my purchase. (YAY!!! Go Mom!) There are so many fabrics to choose from for the back (aka inside) of your quilt. There is fleece, flannel, cotton you name it and the nice people at JoAnn’s (or your local fabric store) will know exactly what you’re talking about and help you find it. Personally, I chose fleece because I loved the feel. While you’re out at the store make sure to pick up some interfacing for your t-shirts. I got the nice fusible iron on stuff because we used it in my apparel class at school and its simple and easy to use. Just use an iron!
Once you come back from the store it’s time to get started. Before we can sew we have to interface all of the squares. Now yes I know that some of you just moaned a little on the inside because this does take a little bit of time. And this was one of my least favorite part of making the quilt. But, it is worth it in the end so bust through it! If I did it so can you!
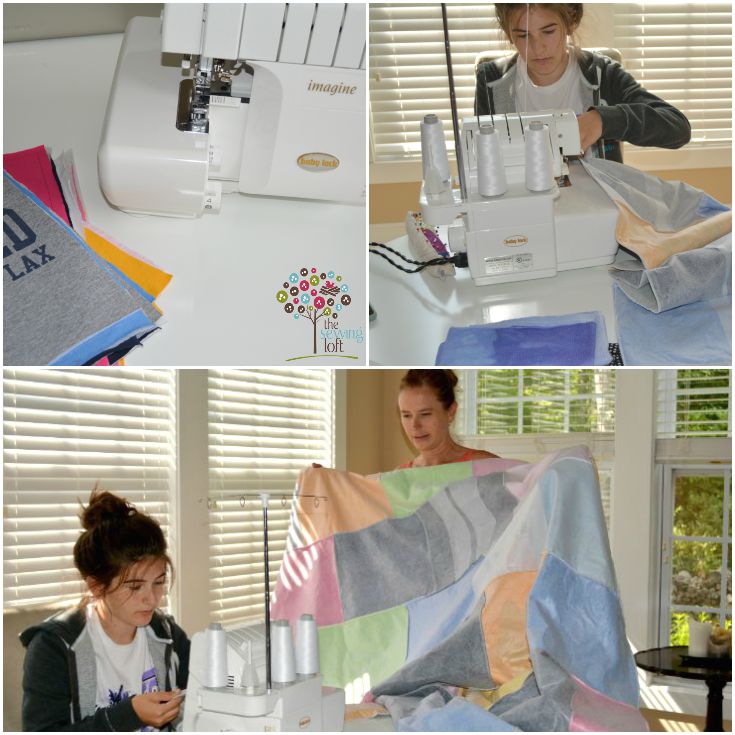
What time is it? It’s sewing time! That’s right, now that all of the squares are interfaced it’s time to sew them all together. Now, my mom is very smart when it comes to little tips and tricks with sewing and crafts so she helped me cut my steps in half. She did so by telling me instead of sewing the squares together with a sewing machine, to do it with a serger so that it cuts off the extra fabric for me while I’m also attaching the two fabrics together! Thanks Mom for the nifty tricks of the trade! Also the quilt was SO HEAVY when sewing so I had my mom help me by holding the quilt while I sewed so that I could get a straight line. After all of the squares are sewn together you sew the fabric for your back (mine was fleece) to the perimeter of the squares.
Yay! Congratulations, you have now successfully created your first t-shirt quilt. If you’re like me, all you want to do right now is just curl up under your new quilt and watch a movie, but no! It’s time to go and show all of your friends and family your latest creation. Text, call, share, and post your success and share it with the world! Now that all of that is taken care of, you may curl up and sleep under your new t-shirt quilt. Enjoy! (I know I sure will.)
NOTES:
*I ran into a little jam with the squares. I realized that I didn’t actually cut them all to the same sizes so my mom helped me through this little hiccup with the idea to make to quilt into a subway “print”. Click here for more T Shirt Quilt How To.
**Now, as I said my measurements were a little wonky so my quilt really came out to be around 6’x6’.
Stay tuned because I’m pretty sure this T Shirt quilt was just one of many stops on her sewing journey. In the meantime, click here if you want to learn a bit more about Lady A.
Hello! Are you new to The Sewing Loft?
If so, I’m glad you stopped by and hope that something has inspired you to keep your needle moving! Don’t miss a single project and subscribe via email HERE! Bonus- free download template with newsletter sign up. Another great way to connect with me is via Facebook, Pinterest, Instagram, Google+ or Follow along with Bloglovin. I’m looking forward to getting to know you and creating together!


Comments & Reviews
Great article Lady A, I love to read about sewing from a new perspective, and your mum is a great teacher.
Way to go kid! Love that you rocked out your first quilt this summer. Can’t wait to see what comes next. Love, tj
Great quilt-you made it look like fun. What did you mean about “subway” print?
We staggered the tee shirts to make a subway tile pattern. This is a standard tile setting in building construction but most commonly found in the public transportation subway stations.
~Heather
Thanks for taking the time to answer—I think it makes it look more interesting
It looks really good and is very striking. Hard to believe it is your first quilt – it shows you clearly have a talent for this. Thank you for the very clear tutorial. x
That is AMAZING!!! To think I have hesitated to do one. Yours looks so great!! Thank you so much for the inspiration!!
Lady A………….you do your mother proud. Not only in your new venture but in the skill with which your wrote about it. You show two talents which will keep you a step ahead in your future.
Congratulations Lady A. Great job. Thanks for sharing your first experience with us all.
That looks awesome! You’re ahead of me as I sew, but have yet to tackle a quilt. But I’m saving my son’s t-shirts to make him a quilt by next year when he leaves for college (although I can see the eye roll now – boys are so boring). Thanks for the tips. I like the subway tile idea too! And from some of your tees I’m guessing you are a Jersey Girl? Rock on!
Totally a Jersey Girl transplanted in the south!!
~Heather
What interfacing did you use? Thanks!
We used a light weight tricot fusible. This way the character of the knit fabric would still shine through in the quilt.