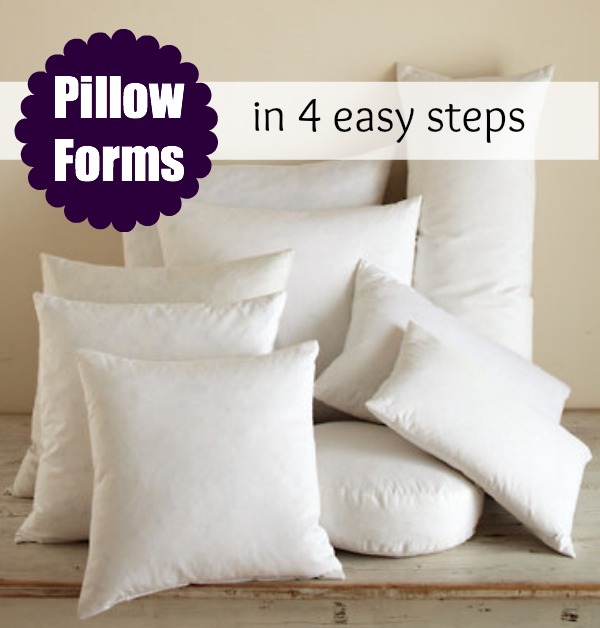
Do you use pillow form inserts? They are a great way to make decorative pillows.
Decorative Pillows are an effortless way to jazz up your space. They come in various shapes, sizes, colors, and price points. But don’t let the price tags scare you off. With a few simple stitches, you can create your own decorative pillows that will have your space up to date with all the latest trends.
One of the things I like to do is create simple pillow forms. With a quick slip cover, these pillow forms can be changed out over and over again with the latest and greatest fabric trends. I know that by having the form in hand, a new pillow is just minutes away.
Easy Pillow Form Inserts
This project is for all levels.
Skill Level- 1 Button
![]()
Materials:
You will need the following materials to create your pillow forms:
- Polyfill
- light-colored fabric (I suggest cotton)
Basic Instructions:
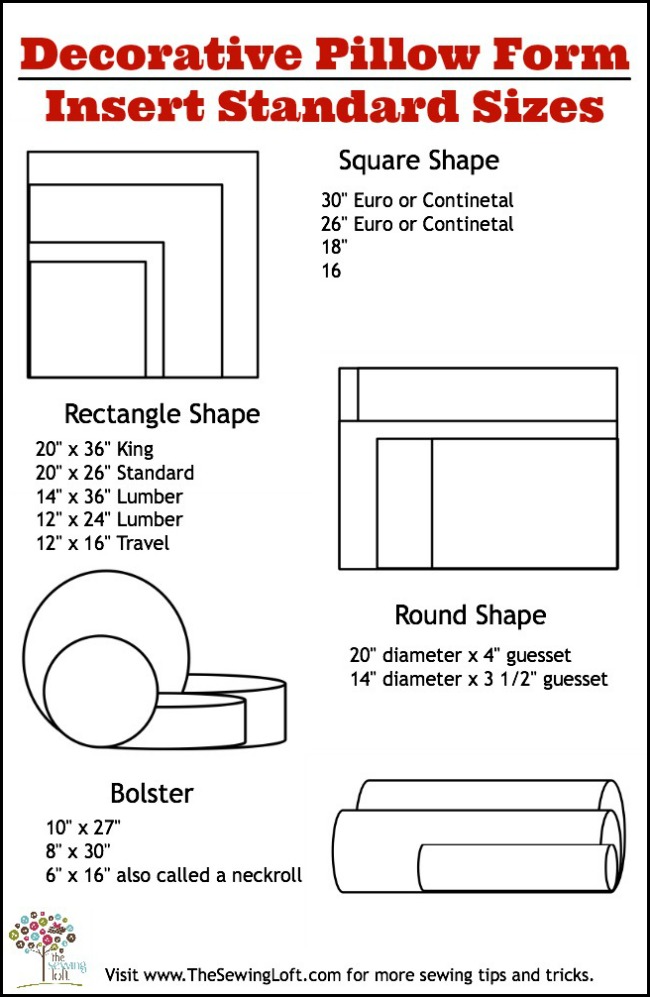
- Determine the size of your form. Below you will find a quick cheat sheet of standard pillow sizes.
- Measure and cut your fabric to size adding seam allowance.
- Pin the fabric wrong sides together and stitch 3 sides together. *Note that I am using a serger.
- Fill the pillow insert with stuffing and stitch the last side closed.

How simple was that??? I have pillow forms in several different sizes and shapes. This way, when a decorating need arises, I can just pull one out and create a quick pillow cover. This has come in handy when making over the girls room and always the day before a party. I have been known to whip up new things the day of an event and I always love the buzz it creates when guests walk in.

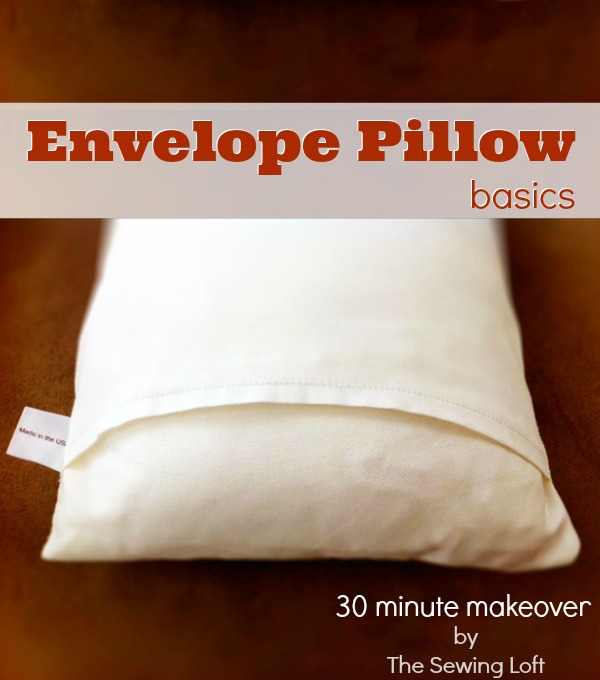
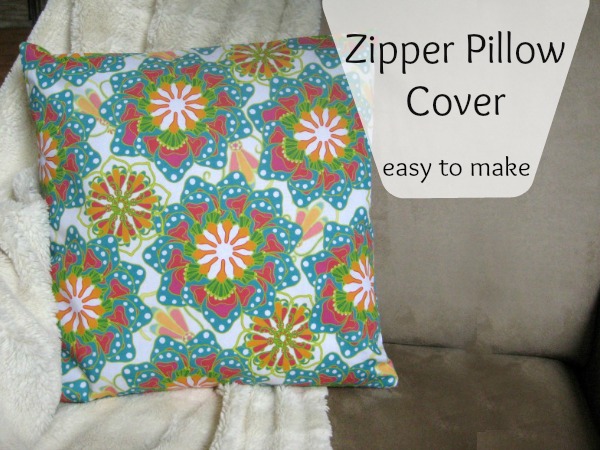
Once you have your pillow inserts made, it’s time to whip up a few covers. Here are a few methods to get you started.


Comments & Reviews
Very Cool! It might sound silly, but I’ve got favorite dish towels that have lovely coffee cups on them and I can’t give them up, even though they’ve got holes. I’ve been thinking I’d love to make pillows with the good parts. I have t-shirts that I’d love to make pillows from as well…also with coffee cups on them. Thanks!
love it Candace! Great way to breathe new life into something cherished!
Just wanted to let you know that I linked to your tutorial over at Craft Gossip:
http://sewing.craftgossip.com/tutorial-diy-pillow-forms-in-just-4-steps/2013/06/22/
–Anne
Thanks Anne! Love that you always “spy” me and share.
~H
I have made these in the past and they always feel lumpy. I’m sure this has something to do with the way that I stuff the form. Any suggestions?
That’s happened to me too Gloria! If you are using standard poly fill, I suggest really breaking it down or “fluffing” it apart before you stuff your pillow. This will avoid clumps. But another suggestion I have is the type of fill you use. I am in love with Pellon’s Cluster Fill. http://www.pellonprojects.com/products/perfect-loft-cluster-fiber-fill/
Thanks so much for this tip….the clumping is the main reason I have shied away from making my own pillow forms!
Thanks for the tip, Heather. I will definitely try Pellon’s Cluster Fill.
This is a great post! You have made it all very easy and clear for us all. Thank you! (found you via Craft Gossip by the way)
Thank you, I am so glad you came to visit and found the information helpful!
~Heather
What a handy guide to have around for a quick change to décor. Thanks for sharing this valuable tool. Pinned.
OMGosh! I was just making some pillow forms this week and told myself I really need a chart for all the different size pillows! Thanks for posting this and it is getting printed and placed on my wall! Thank you, thank you, thank you! ps new bloglovin follower now!
So happy the chart is helpful Melissa. I love your little pin cushion…. actually, I have a huge crush on them!
~Heather
Thank you so much for this! I have about a dozen pillows I’d like to make and wasn’t sure what I was going to do about forms, now I know! 🙂
One question from a beginner, at what point do you turn the cushion with the right sides out if you sew all four sides?
You will need to leave a turning space open if you want to turn them right sides out. The instructions are for leaving the seam allowance exposed.
I’m new to sewing. I follow you on Facebook and definitely want to try these pillows. Thanks for the inspiration 🙂
Stupid question here……………..if I am making a 20×20 pillow………….do I cut the insert fabric the same size as the pillow cover fabric?
Hi everyon 🙂 i pinned this few months ago and as soon as I had my Sewing machine, this is the first project that I made.
Thank you heather for making this easy for beginners like me. I just started my blog last month kissesfromhome.com, and if I may… I will post my project there as inspired by SewingLoft.
First, Congrats on the new machine!! I hope you are getting super friendly with it. And YAY! For making your 1st project and blogging. I am so happy this post helped get you started and would love to see a few pictures.
Please feel free to share them in our flickr group here: http://www.flickr.com/groups/thesewingloftcommunity/
Or on our Facebook page here: https://www.facebook.com/TheSewingLoftFB
I am sure we would all love to see what you created.
Keep us posted!
~Heather
Oohh so thank you! It wiould be awesome to join you girls, sounds fun in your group 🙂 I’ll be posting it soon.
p.s. I’m feasting over your crafts..soo many inspirations here.
kisses…
Lovely site. I’ve been enjoying looking at everything. Mary Jo
I am finding this super handy but about those ‘lumber’ pillow’s. . .
Glad you are finding it handy Catherine. Am I missing something with the lumber pillows?
~Heather
I think that you meant lumbar instead of lumber pillows. But I find the way that you have illustrated this to be so easy to use at a quick glance. Thanks!
Great catch Catherine! I totally missed that.
So glad to hear that the chart is helpful – even with the typo.
~Heather
I teach 4-H kids to sew and finding easy projects online is a real help. This way they can get on their computer for a good lesson at home and practice. This is great. I am giving them all your sight.
Liz
So glad you are finding it helpful Elizabeth!
~Heather
I am making four pillows now for our condo lobby. I am trying to make each one slightly different. Any suggestions where I should go for inspiration? One side will be plain. All of them will have piping. Thx
i use bed pillows when on sale for filling pillows, nice and fully
I have issues with the corners of the pillows feeling ’empty’. I use a thin dowel rod to push the fluff into the corners, but it doesn’t stay as well as I would like. The middle of the pillow feels dense, but the corners feel like there is never enough in them. Any suggestions ?
I’m so happy! I’ve wanted to make pillow forms and you’ve showed me in clear easy to understand language. Thanks
how do you use stuffing and not have it get lumpy?
I like to add a layer of batting between the stuffing and pillow cover. Sometimes, I even back the cover with the batting.
~Heather
Maybe I am missing something, but what is the length of the fabric measurements for the gussets on the round pillows and what are the diameters for the round pieces on the bolsters? I am sure I can figure these out, but if you already have them, I would appreciate this information?
Thanks,
Maggie
Hello Maggie,
The download is for standard sizes and shapes commonly found in the industry.
~Heather
Thank You. I want to make pillow out of my husband’s shirts but found the pillow forms to be expensive. I had not thought of making my own forms. Thanks Judy
Hi! I am new to making pillows. I am wanting to make pillow insert 28×28 for a euro sham. I can not find anywhere how much filler/stuffing I need to buy to fill the 28×28 size? Thank you so much in advance!!!
Hello Jessica,
Welcome to the world of sewing, I must warn you, it can be addictive!
The amount of fill you will need depends on your personal preference. You may want to start with 2 16oz bags.
-Heather