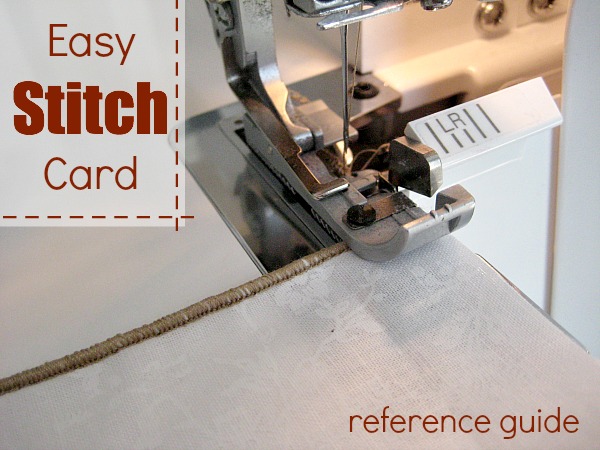
These days our sewing machines can do so much more than the basic straight stitch. To help keep stitches straight, I suggest create an easy stitch card reference guide. This guide can provide an instant visual reference for your next project. I especially love these cards for my serger machine. They are simple to make and can be created with leftover fabric scraps.
Create a Stitch Card Reference Book
This project is for stitchers of all levels.
Skill Level- 1 Button
Tools:
- sewing machine & owners manual
- fabric scraps
- marker
Basic Instructions:
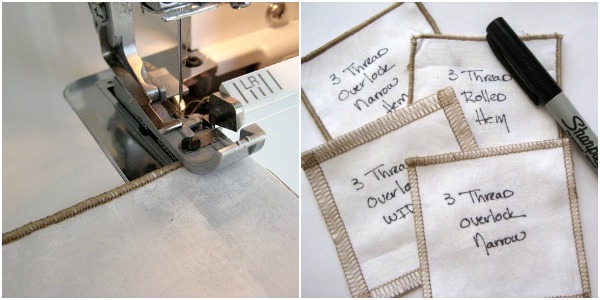
- Cut scrap fabric into squares. I cut mine 4″ by 4″ but any size will work.
- Pull out and refer to the owners manual to your machine. This will help you set your stitches properly.
- Select a stitch and sew around all four sides of the fabric square. Repeat this process for each stitch your machine offers. Tip: If using a serger, don’t forget to tuck your tail in.
- Label each fabric square with the correct stitch name and any additional notes you would like to remember.
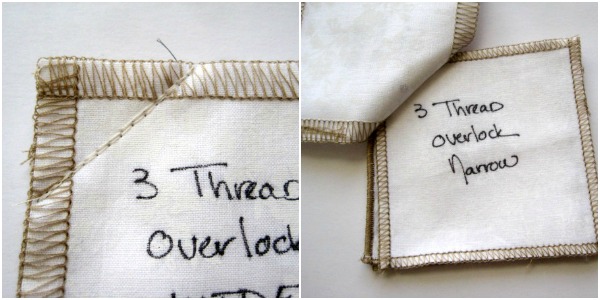
- Layer your stitch cards together and run a stitch in the upper corner to create a stitch card book.
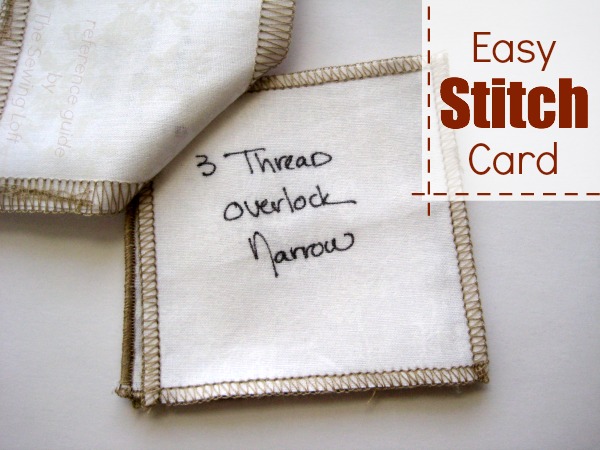
Think of this new reference tool as your “little black book” of stitches. I like to keep my book tucked away with my machine. This way, when it’s late and I’m trying to remember just how much bigger the 3 thread overlock wide stitch is compared to the 3 thread narrow stitch, I can just pull out my book and look at them side by side. It really keeps things simple!
Be sure to to check out our growing library for more easy sewing tips and tricks. They are bound to come in handy during late night sewing projects!
Hello! Are you new to The Sewing Loft?
If so, I’m glad you stopped by and hope that something has inspired you to keep your needle moving! Don’t miss a single project and subscribe via email HERE! Bonus- free embroidery pattern with newsletter sign up. Another great way to connect with me is via Facebook, Pinterest, Twitter, Google+ or Follow my blog with Bloglovin. I’m looking forward to getting to know you and creating together!


Comments & Reviews
I love this! It would also be helpful to write down the serger settings used for each stitch 🙂
That is a good idea Teri! Maybe write it on the back of each card with any additional notes.
~Heather
That’s a great idea! I love that they’re all sewn together into a book so you don’t lose the individual cards. I’ve got a Craft Gossip post scheduled for later this morning that links to your tutorial: http://sewing.craftgossip.com/tutorial-sewing-machine-stitch-reference-cards/2014/05/06/
–Anne
nice idea, sewing them all together, great tip…..
Thank you Heather for great tutorial re easy stitch cards
I love this idea! I’m just a beginner and living rurally I have to figure things out on my own, so I’ve come to appreciate approaching my learning in quite a methodical way…
When I purchased my Bernina (eons ago) and participated in the New User classes this is one of the techniques they stressed. I find it most helpful for my serger as well as my Regular machine
I think making these stitch cards is a great way to get friendly with a new machine. My girls love to practice sewing all the different stitches each machine has to offer.
~Heather
Very helpfull, thank you for sharing.
I love my “cheat sheets” as I call them – but for my serger, I color coded the threads so that when tensions aren’t perfect, it’s easy to fix!
I love the Easy Stitch Sewing Card. Thanks for sharing.
Nice idea… my regular machine has 18 decorative stitches though… Would be kinda tough to sew through that many layers to attach the cards in a booklet. I’m thinking along the lines of a sampler (one page, showing all the stitches.) I would number each stitch and then put my notes on a separate page to which I’d attach the sampler, sewing through just two layers. Opening as a booklet then with the stitches at left, notes on the right. The problem I can already see with that idea is that it would have to be rather large, so not as convenient to keep near my sewing machine. Might make an interesting wall hanging…
I punch the corner and put them onto a big ring clip – that way you can add more.
My home ec teacher had us staple the samples to paper and put them into a 3-ring notebook, along with our references for things like bound buttonholes and hand stitching.