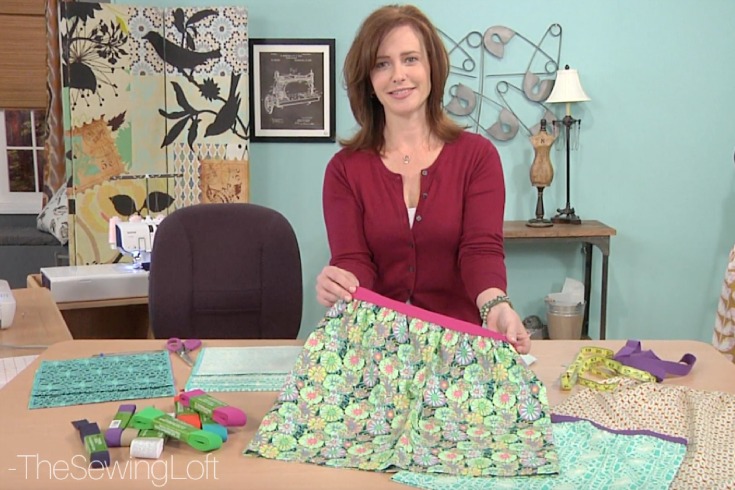
A simple elastic waistband can a go a long way in garment construction. It’s a basic technique that’s great for beginners and even more advanced sewers who are looking for something quick and easy. Today I am going to share a quick tip and technique for creating a simple waistband and tunnel elastic.
This project is for all levels.
Skill Level- 1 Button
Materials:
- elastic (1″ or pattern specifications)
- fabric
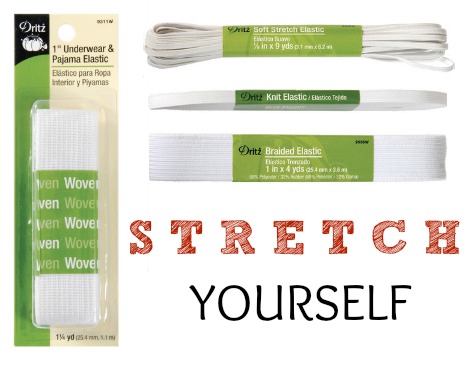
* A few notes on elastic: The type of elastic you choose depends on the fabric you choose. Knit elastics work well with light to medium weight fabric and woven elastic is more suitable for medium to heavier weighted fabrics. Other types of elastic can be used, but I find these two to be the most stable.
There are several ways to create a casing for your elastic. One is to create your casing before adding the elastic. Another option involves securing the elastic first before creating the casing. I share both methods below.
OPTION 1 ENCASED:
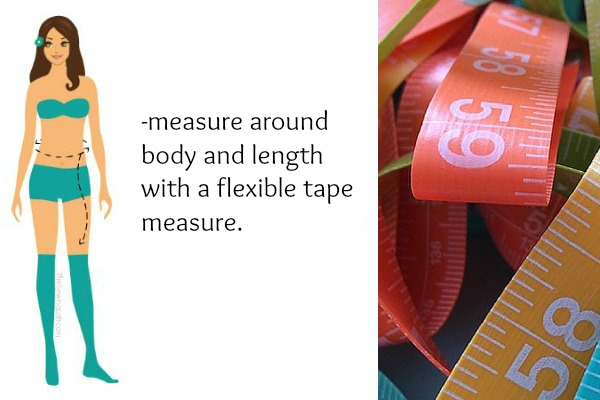
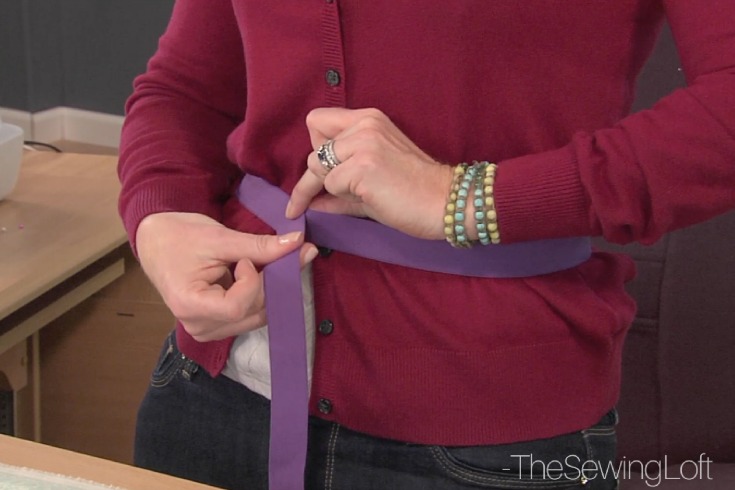
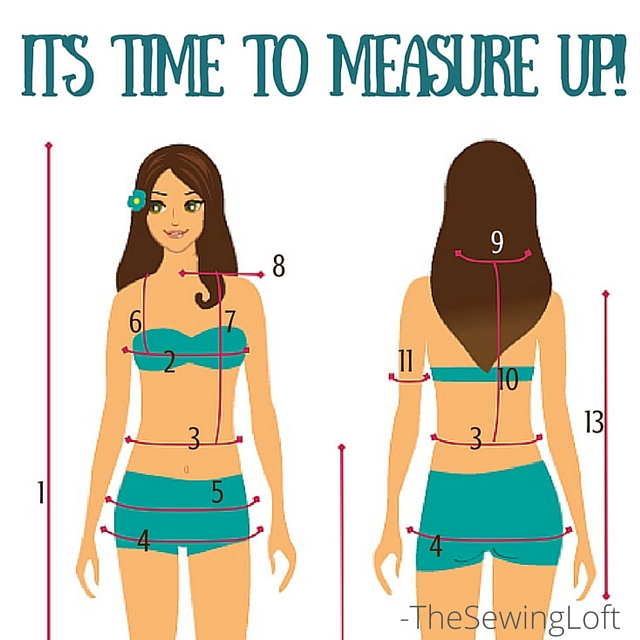
Step 1: Measure your elastic where you’d like your garment to fall. Add 1″. Cut.
Step 2: Prepare your Garment Edges (Woven only. Knits don’t fray.)
- Front and back pieces of garment should be sewing together and turned inside out.
- Fold the top edge of the fabric over 1/4″ and press.
Step 3: Create Casing
- Fold fabric over 1/4″ wider than elastic (or use pattern instructions) and press again.
- Edge stitch close to the bottom fold leaving a 1″ (or wide enough) opening to feed elastic through.
Step 4: Feed Elastic Through Casing
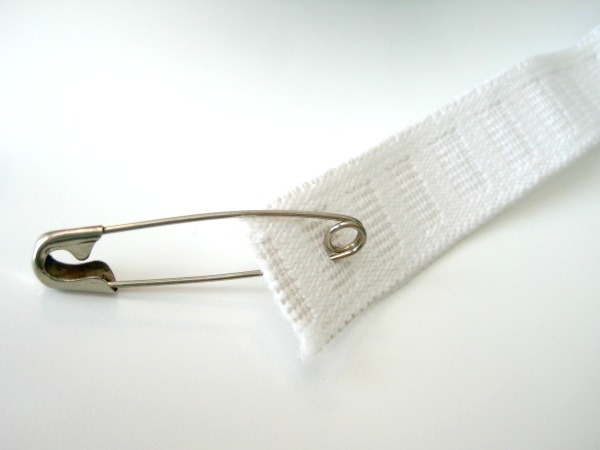
- Add a large safety pin to the edge of one end of the elastic.
- Gently feed the safety pin and elastic through one side of the casing. The waist band will begin to gather as you go. Continue to feed the elastic through being careful to not “lose” the end of the elastic in the casing.
- Once the front end of the elastic has been fed through, overlap both ends of the elastic 1/2″ and stitch together.
- Adjust gathers evenly. Done!
OPTION 2 OVERLAY:
Step 1: Measure Your Elastic
- Measure your waist (where you’d like your garment to fall). Add 1″.
- Cut your elastic this length.
- Overlap the ends of the elastic over 1/2″ and sew together.
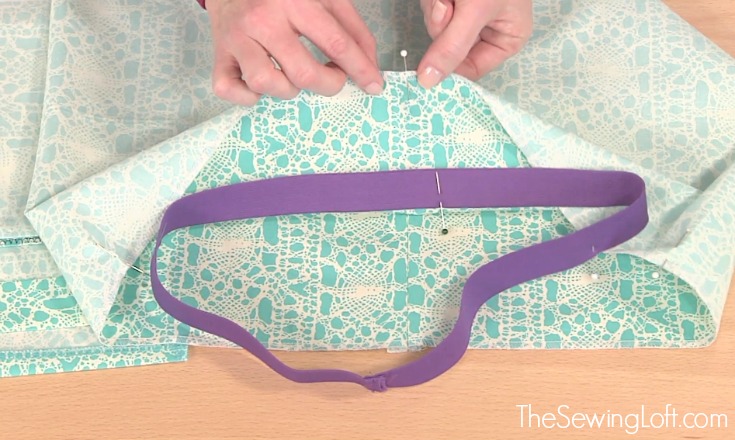
- Holding the doubled elastic on both ends, fold in half until ends meet. Using straight pins, mark both pieces at the inner fold and both ends with a straight pin. Your elastic will now be divided into 4 equal pieces.
Step 2: Prepare Garment Edges
- The front and back pieces of the garment should be sewn together before adding the elastic. Turn garment inside out.
- With the garment laying flat (right sides facing), fold the garment in half. Mark the center 2 points and sides with a straight pin. You should have 4 equal pieces.
Step 3: Add Elastic to the Garment
- Place the elastic over the garment, matching up pins. The elastic will be smaller than the garment, so you will need to stretch the elastic between pinning.
- Once all pins have been matched up and the elastic has been pinned to the garment, it’s time to begin attaching the elastic.
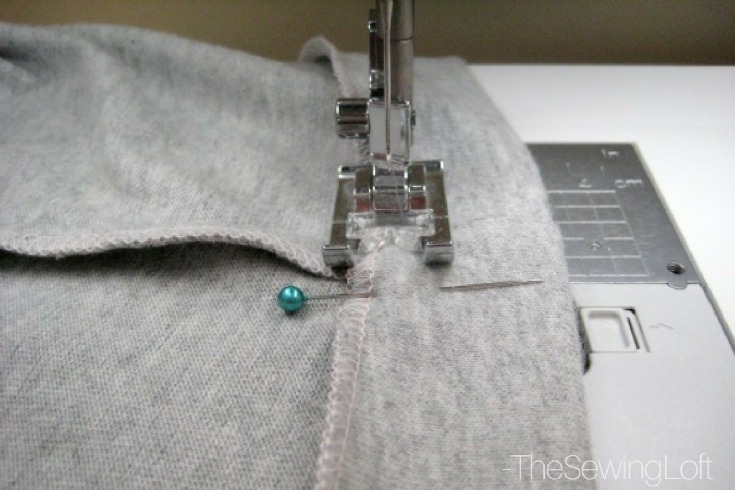
- Using a serger or zigzag stitch, attach the elastic to the fabric, gently stretching the elastic between pins to match the length of the fabric.
- Once you’ve sewn around the entire perimeter of the skirt, fold the elastic over once and sew the bottom of the fold to the skirt (sewing through fabric and elastic), stretching as you go. Done!
What garments will you make now that you know how to install an elastic waistband?
Hello! Are you new here?
Do you want to learn more about sewing? Be sure to sign up for our newsletter HERE and never miss a stitch! Daily Sewing Tips, Everyday Projects and Fantastic Inspiration delivered straight to your mailbox!
Bonus– free download with newsletter sign up.
Feel free to connect with me on Facebook, Pinterest, or Instagram. I look forward to getting to know you and stitching up a storm!





Comments & Reviews
A video would have been a great addition to the written instructions.
Thank you for the note Nancy. I will consider adding it to the video list.
~Heather
I agree with you a video would been a great help for me also. Rose
I agree with Nancy when in the carefree world of 2018 mentioned a video would have been nice. Understanding a video may be a lot to ask for such a easy task as elastic, are pictures just too much trouble for you as well? This tutorial is definitely lacking for a somewhat beginner.