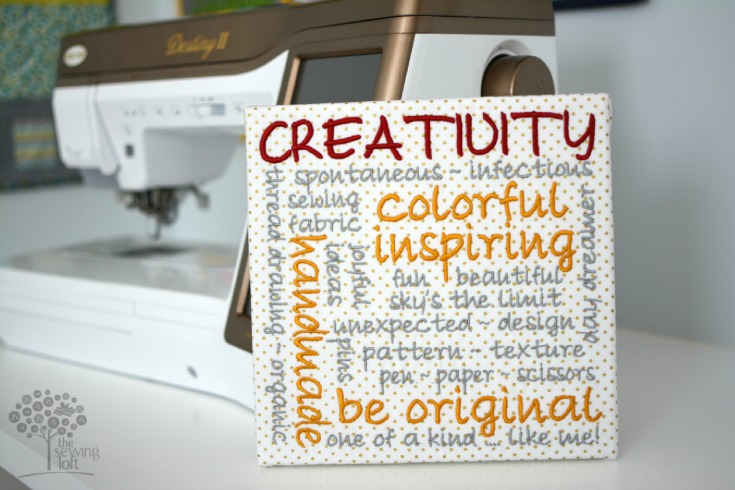
Last week I shared my subway style embroidery font project with a full video tutorial. Since it was jam packed with tons of information, I wanted to take a few minutes to highlight my top 10 embroidery font tips in one place just encase you missed them.
Personalized embroidery is the perfect way to add your creative stamp to any handmade gift. Be sure to keep my top 10 embroidery font tips in mind when designing your next project. Just think about all the different ways you can infuse personalized embroidery into your sewing.
Keep in mind, these embroidery tips are not limited to just my project or even sewing on a Baby Lock Destiny II machine for that matter. These tips can be used on all your embroidery projects.
Embroidery Font Tips
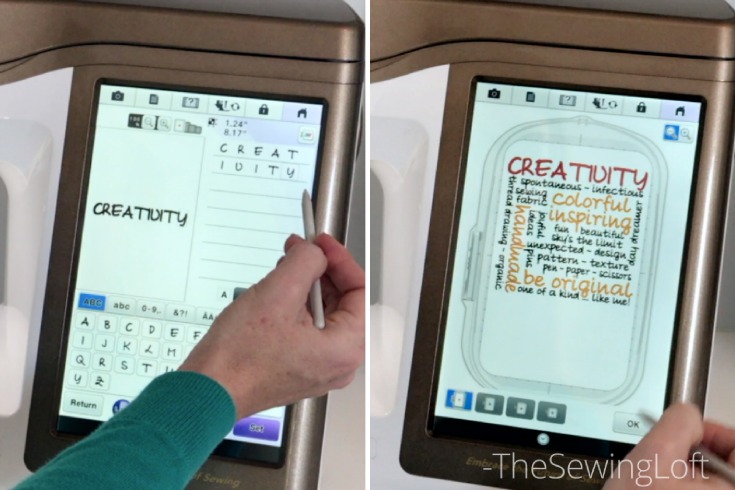
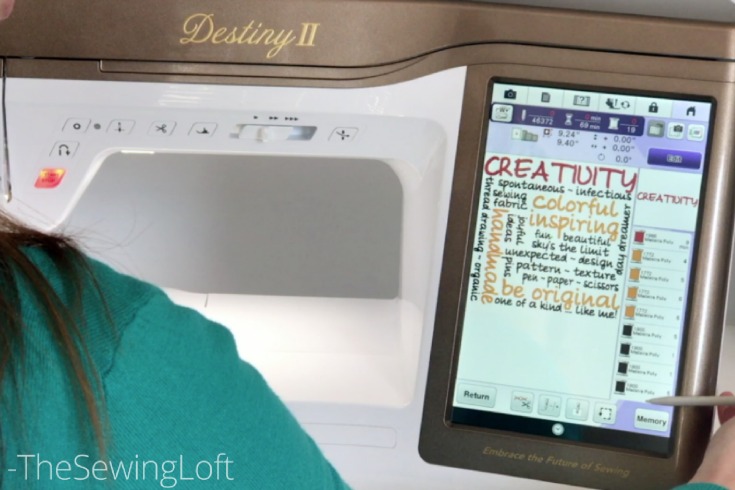
Use the stylist to select your design and letters.
2. Spell Check-
Be sure to double check your spelling and save often to avoid losing your work. Work can be saved directly to the machines memory bank, a flash drive or even your computer.
3. Size Matters-
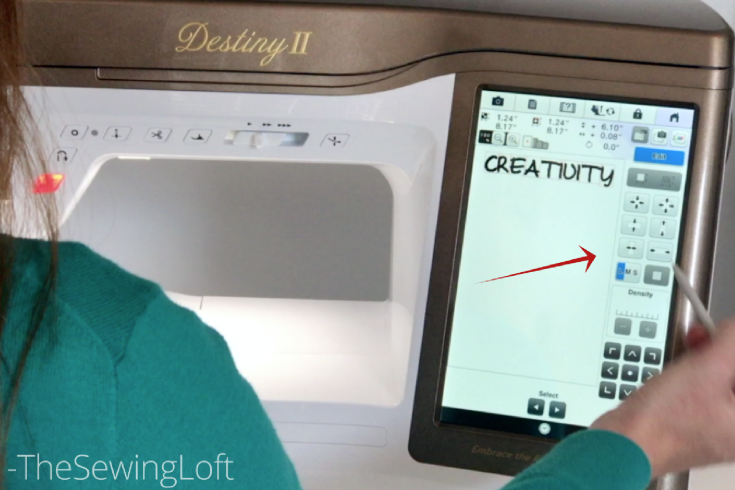
Adjust letter sizing to fit your space with the arrow keys. You can make words and/or letters larger, smaller, closer together and further apart with the push of the button.
4. Keep Moving-
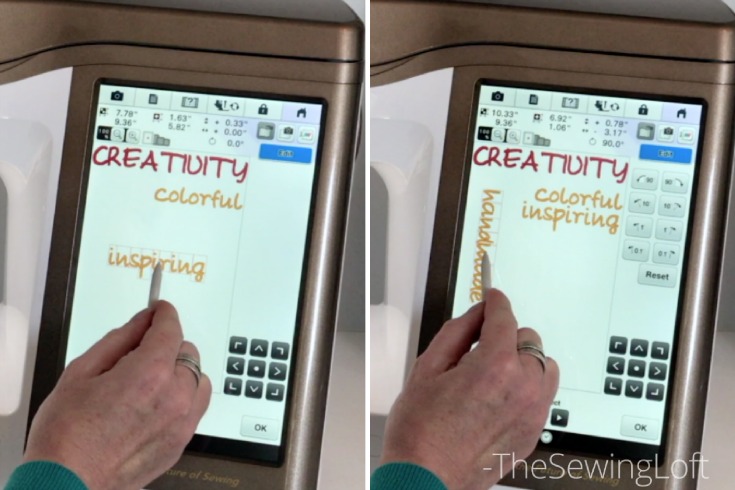
Remember there are so many options for moving your text into position.
- Slide them into place using your stylist and the touch screen.
- For a more precise placement, use the arrow keys on the lower right hand of your edit screen.
- Pus, don’t forget that you can rotate the words by 90° angles or even slightly move them by as little as 1° to fit your space.
5. In Color Order-
The Destiny II offers the ability to sort your thread in color order. Not only does this save you time but man it’s super cool!! If you are not working on a Baby Lock, be sure to check your manual for this special feature.
6. Needle Size-
It is so important to switch out your standard sewing needle to an embroidery needle. The eye of an embroidery needle is larger and allows more room for the thread to pass through at the higher speed. If needle size is incorrect, thread breakage may occur.
7. Stable Ground-
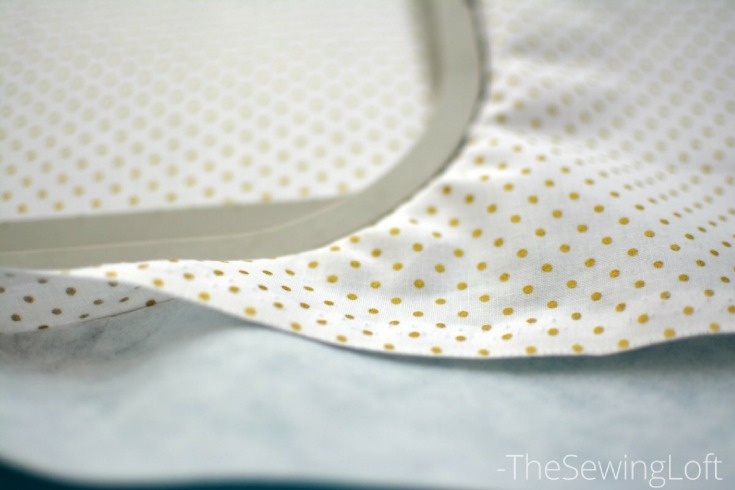
I suggest doing a quick test with your project and fabric and stabilizer to ensure the best outlook for your project. Stabilizers vary based on the fabric and type of embroidery you are doing. Ask your local dealer for assistance if you are unsure of which stabilizer to use for your project or consider taking a class like this one.
8. Thread Check-
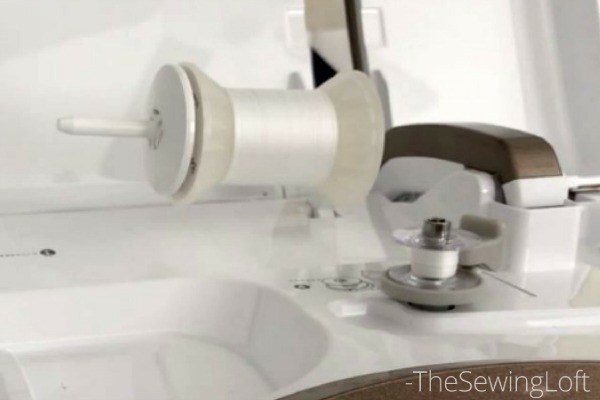
- When embroidering, I like to use Finishing Touch 60 weight thread in my bobbin. This lighter weight thread helps keep my main threads looking perfect with the bobbin threads tucked below the fabric surface.
- To avoid stopping mid design, it is best to start with a full bobbin. Also consider having additional bobbins wound up and ready to go for your larger projects.
9. Start Fresh-
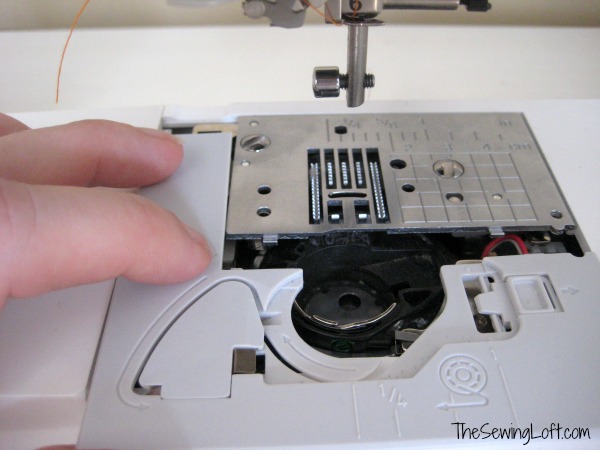
I highly recommend you start with a clean machine! This will reduce any chance of thread breakage and nesting on the backside of your design. If there is not time for a complete clean out, consider removing the bobbin basket and giving the area a quick sweep with a pipe cleaner brush. It is amazing how many dust bunnies they catch.
10. Practice, Practice, Practice!
Rather than diving straight into your project fabric, I suggest a quick stitch out. This will ensure the best possible outlook for your finished project and allow time for any needed trouble shooting.
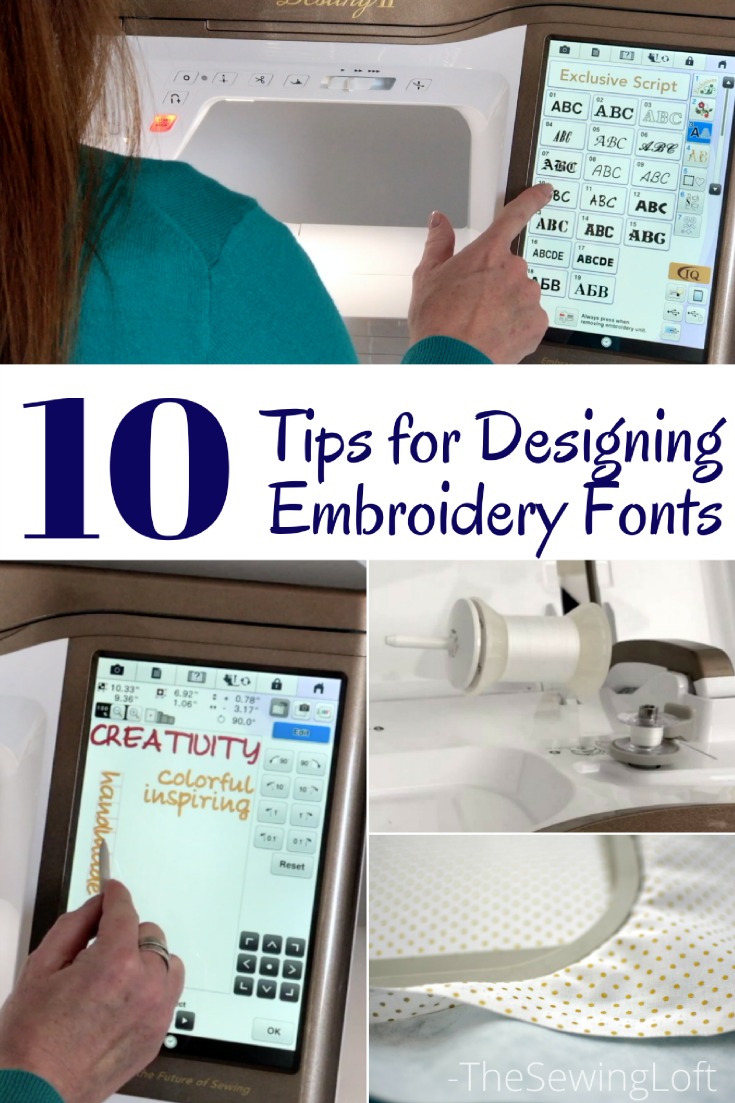
10 Embroidery Font Tips
It is so much fun to sew with friends so when Baby Lock asked me to team up with 11 other designers for the Love of Sewing Challenge, I was all in. It has been such a fun group to be part of and I hope you are stitching along with us. You can find my full project and video here.
Again, a special Thank You goes out to the folks at Baby Lock. When I purchased my first brand new sewing machine, Baby Lock of course, I never imagined it came with a village. They continue to be with me every step of the way on my little sewing adventure and I can not thank them enough for their dedication to our craft and continued support of my journey. They truly are a big part of my sewing circle!
Hello! Are you new here?
Do you want to learn more about sewing? Sign up for our newsletter HERE and never miss a stitch! Daily Sewing Tips, Everyday Projects and Fantastic Inspiration delivered straight to your mailbox!
Bonus– free download with newsletter sign up.
Feel free to connect with me on Facebook, Pinterest, or Instagram. I look forward to getting to know you and stitching up a storm!



Comments & Reviews
Thanks for sharing these tips with us!
I hope these tips will surely help me getting started with Embroidery. Thanks for posting.
Thanks for being so helpful. I will try digitizing embroidery fonts by using these tips.
I was looking for the tips to make how to make embroidery designs and I find this blog very helpful, Thank you for sharing such informative stuff with us.
Thanks for your tips. That help me a lot.