Today I’m excited to share a new quilt block that is perfect for summer, Triple Scoop.
This block finishes Using traditional quilting methods, this block is easy to make block finishes at 9″ x 18″. So, pick out your favorite flavors, and let’s stitch up something fun.
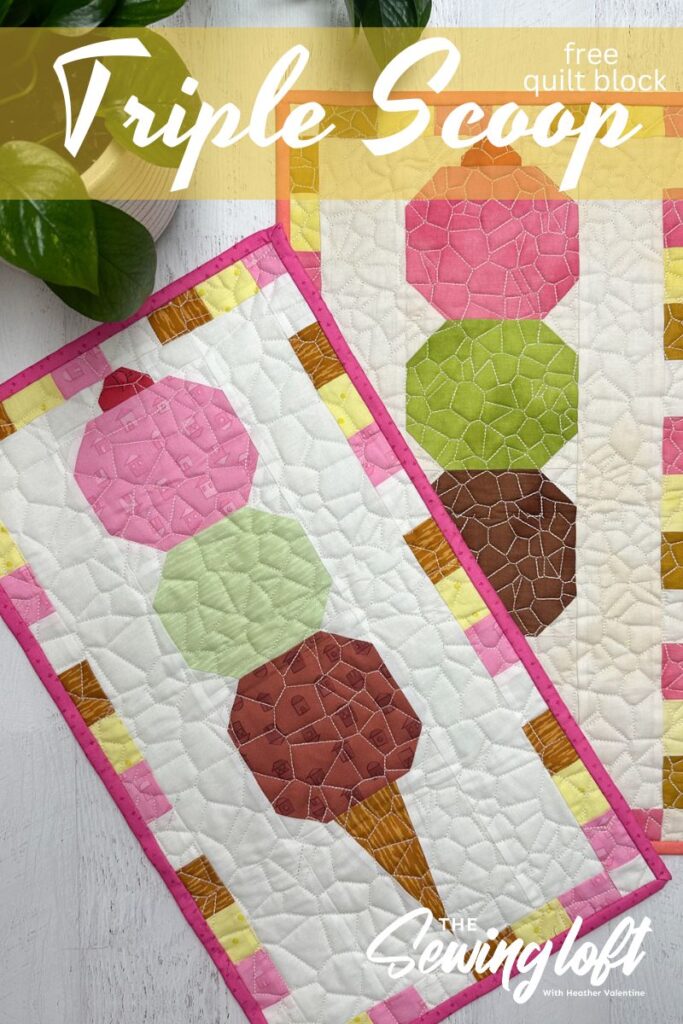
Triple Scoop Quilt Block Details
This block is slightly different from my standard Blocks 2 Quilt offering. It is being shared in one finished size and will remain free to download from my site.
The finished Triple Scoop quilt block measures-
- 9″ x 18″ (22.86 cm x 45.72 cm)
Material & Supply List:
- Assorted scraps: pink, green, brown, tan, and background
- Cutting mat / rotary cutter / quilt ruler
- Heat erasing marking tool*
- Spray starch
- Basic sewing supplies
*This tool is helpful but not required.
There are so many options with this sweet treat of a block. From your favorite flavors to the latest concoction your local creamery can churn up. This block is perfect to highlight them all!
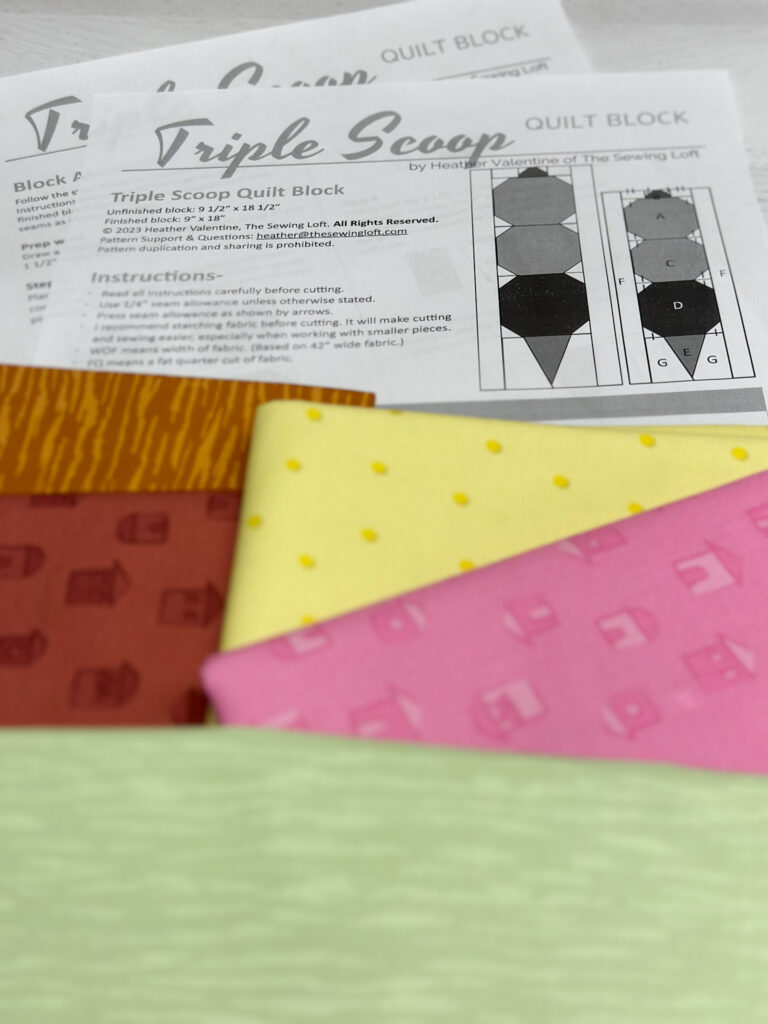
I’m using a few picks from my new fabric collection, Color Club but this block is also perfect for your smaller scrappy bits.
Now, I’m sure some of you are wondering how to create the cone shape made of isosceles triangles but I assure you, it requires no templates or special rulers. Instead, I show you just how easy to create this design with simple patchwork pieces. You can watch my quick video below. In the video, I show how to create the same shape cone in my Ice Cream Cone block. You will just need to follow the sizes outlined in the Triple Scoop pattern.
This little block looks so cute hanging as a mini but I think it would make a great table runner for a party. Simply make two blocks and outline them with a border of choice. Personally, I love the strip detail.
While many folks see small patches that needed to be stitched together, I see a detail that is perfect for batch sewing. Here is how you do it.
Cut 4 WOF strips 2″ wide and stitch them together with a 1/4″ seam allowance. Press all seam allowance in one direction. Then simply slice the strip set down to the desired size. I cut mine to 1 3/4″. Doing this allows you to create the border detail quickly and accurately. No small pieces to cut, piece and remember the order.
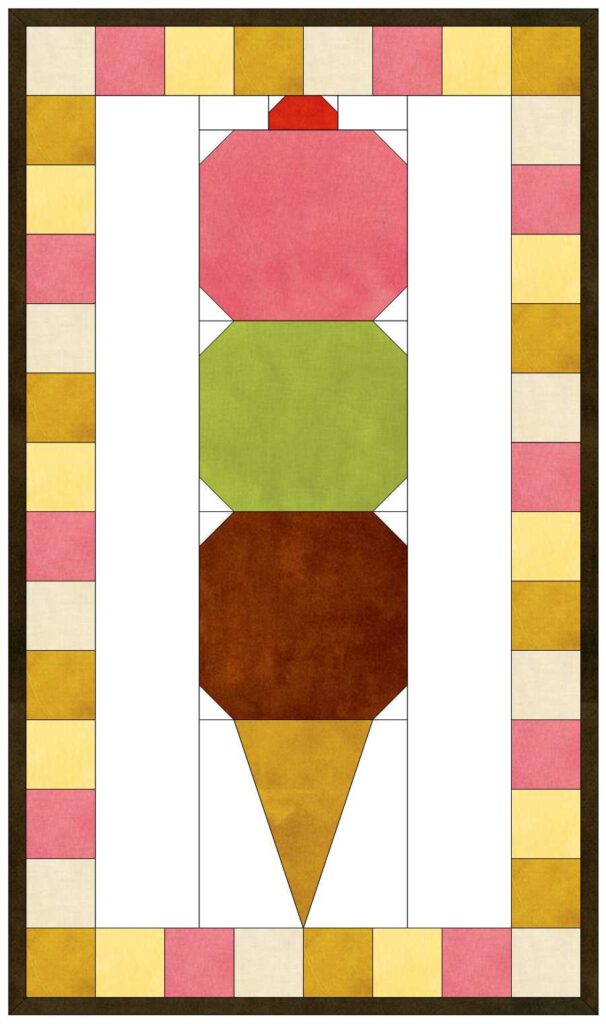
Once you have your strips cut, it’s all about attaching them together. I started with the top and bottom edges, then finish with the sides. Using this size of border strips will create a finished mini quilt of 12″ x 21 and a table runner of 12″ x 42″ but you can cut the borders any size you like to adjust.
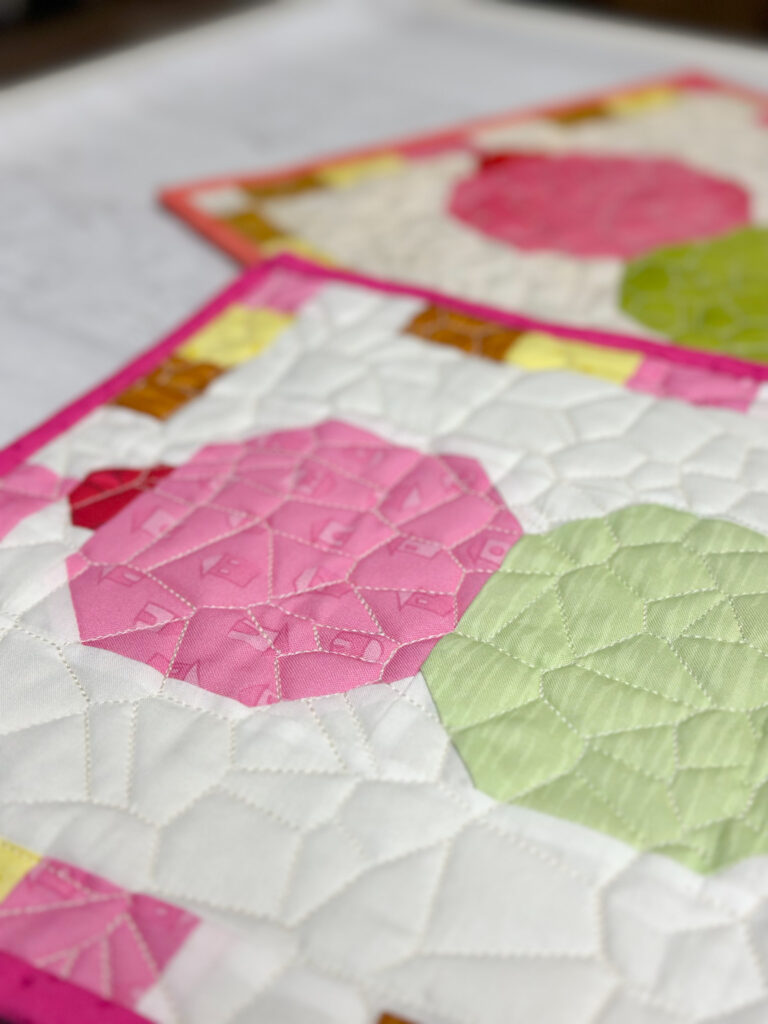
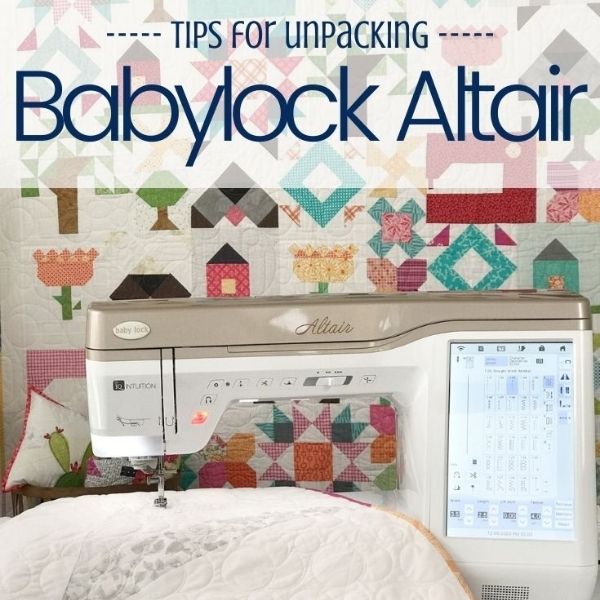
Before you head straight to download your free pattern, can we just take a quick minute to chat about that quilting detail… Believe it or not, it was all done on my domestic machine. That’s right, I used one of the embroidery stitches on my Baby Lock Altair and I love the way it turned out.
And please, don’t let that sharp triangle fool you, the Ice Cream Cone quilt block is perfect for the confident beginner.
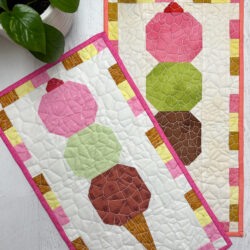
Triple Scoop Quilt Block
Let’s have an ice cream social! Just pick your favorite flavors and stitch up the Triple Scoop Sundae free quilt block from The Sewing Loft

