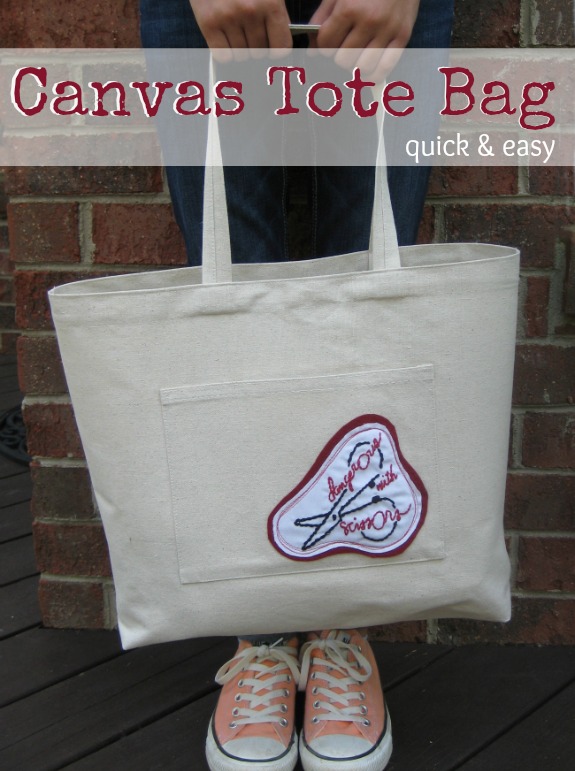
Last week, I shared my hand embroidery work in progress of the Dangerous with Scissors design and thought it would fun to create a quick canvas tote bag with it on the pocket. This way my projects have a home away from home when traveling.
Canvas Tote Bag
This project is for all levels.
Skill Level- 1 Button
![]() The truth is, I would love to finish everything in an afternoon but that is not always the case and need to put them away. Plus, from time to time, I need to lug supplies to my local sewing meetings and this tote bag is perfect.
The truth is, I would love to finish everything in an afternoon but that is not always the case and need to put them away. Plus, from time to time, I need to lug supplies to my local sewing meetings and this tote bag is perfect.
Materials:
- Canvas drop cloth (found at your local hardware store)
- *Optional- contrast fabric scrap for pocket
*I purchased a 6 ft x 9 ft 8 oz canvas drop cloth for $5.89 at my local hardware store.
- Sewing machine (serger or standard)
- Scissors
- Straight pins
- Iron/board
Basic Instructions:
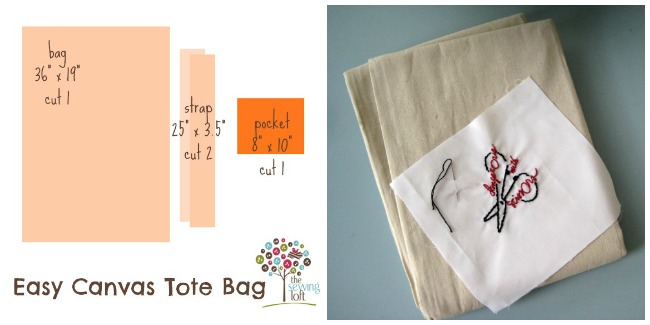
- Cut out body, straps, and pocket from the canvas. The sizes are above.
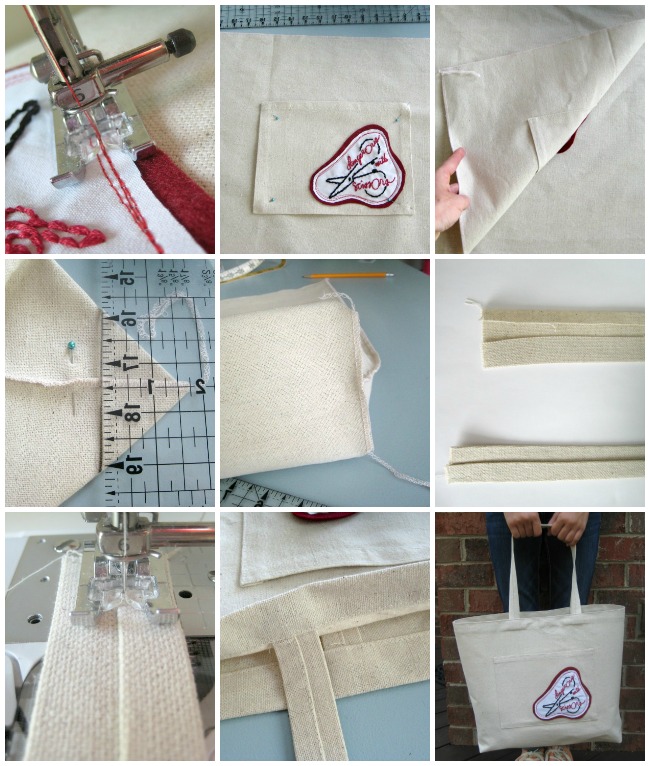
- To keep things simple for the pocket, I used the hemmed edge of the canvas drop cloth as my top pocket edge. If you are using fabric, you will need to add an additional seam allowance before cutting. Fold under and press 1/2″ seam allowance on 3 sides of the pocket. Position, pin, and straight stitch in place on the bag.
- Hold and press 1/4″ along the long edge of the right side and 3/4″ on left to create straps. Then fold the right side over 1/2″ lapping the left and finish with a 1 1/2″ strap width. Straight stitch seam in place along the edge.
- Fold bag right sides together and stitch together. I used my serger to make the job super fast but you can use a straight stitch with a 3/8″ seam allowance.
- Fold over and miter your corners like we did on this zipper bag. I used 1 3/4″ marking from the point. The canvas is perfect for finger pressing and there is no need to jump up for the iron.
- Fold over the top edge 1/4″ and again 1″; pin in place. This is your top hem. Next mark the center of your bag and position straps 2.5″ away on each side. Slide them under the hem line. This is for extra strength.
- Flip up and stitch around the top edge. Turn right side out and your canvas tote bag is ready to be filled!
**Since I know that many of you like to print out a hard copy of the article to use as a reference while sewing, I have created an optional PDF that’s optimized for printing and ad-free. Find more here. The blog post and video are totally free to read, print, and sew! The PDF tutorial & download for $2 is totally optional.
I can think of so many great ways to use this canvas tote bag and I know that I’ll be cutting up the rest of my drop cloth in a flash!
If you are looking for a lined tote bag check this one out. There are so many great tutorials on-line but I just love the color blocking on this one!

ps- the embroidery patch embroidery design is yours for the grabbing! And if hand embroidery isn’t your thing- no worries, I’ve gotcha covered. The design is formatted for machine embroidery too!
Looking for more free tote bag patterns? Check out this list with over 100 free patterns.


Comments & Reviews
Did you not feel the need to prewash? I always worry about shrinking/distorting the shape.