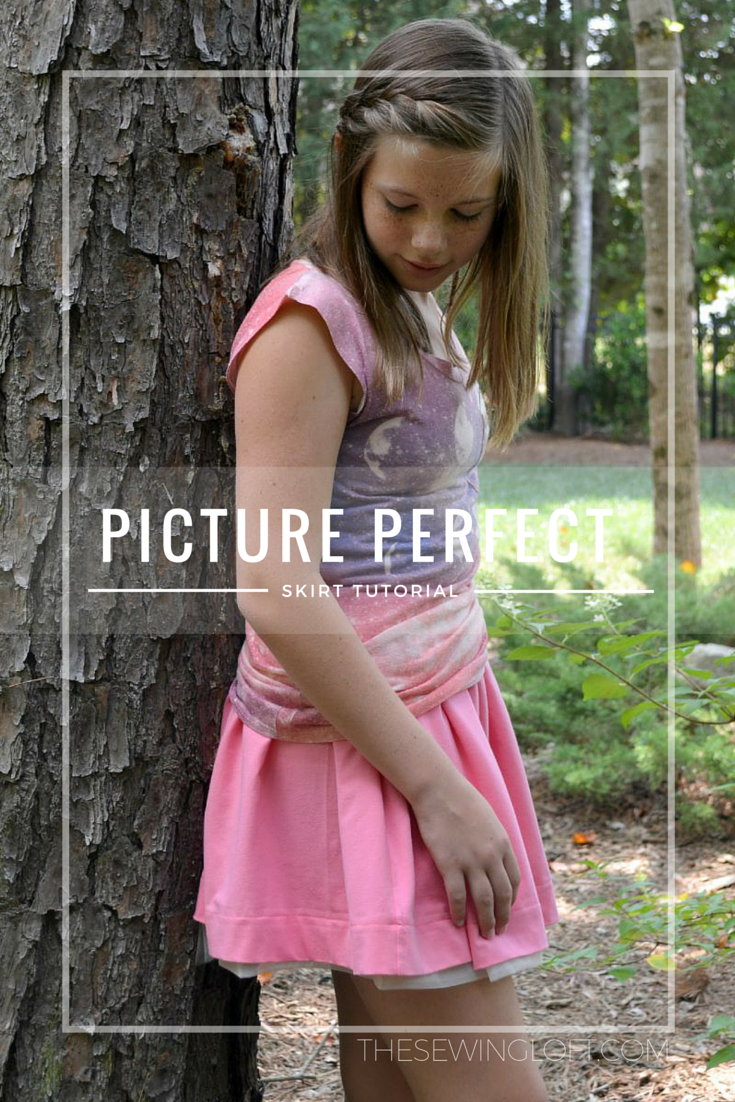
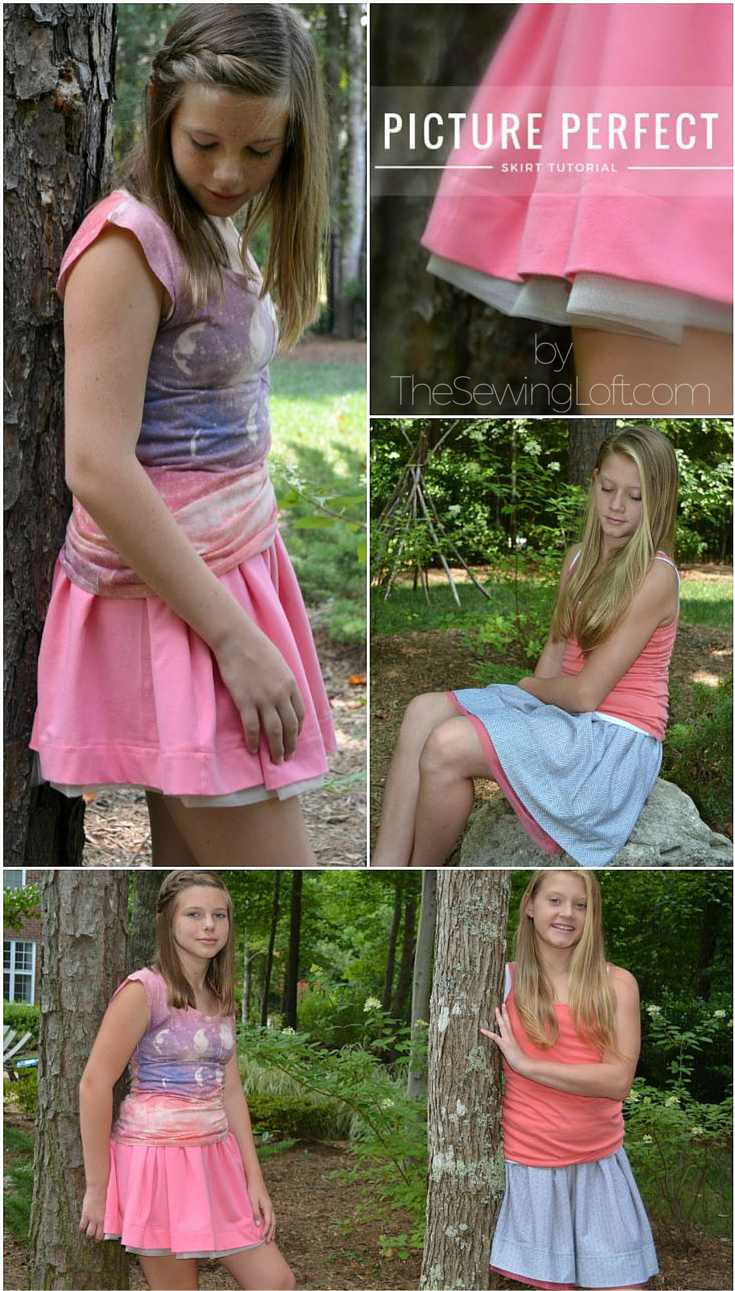
There is nothing sweeter than some instant satisfaction when sewing. I think that’s one of the reasons why I love sharing easy skirt tutorials. But today’s project has even more meaning. You see, each year the girls over at Simple Simon & Co collect skirts to donate to girls in foster care. Isn’t that just awesome! You can find out more about Skirting the Issue and stitch up a few to share here.
This project is perfect for every level stitcher…
even beginners.
Materials/Tools:
- 1 yard knit fabric
- several yards tulle (amount varies based on fullness.)
- 1″ elastic
- basic sewing essentials
Notes:
- Measurements are for a child’s size 12 skirt and finished 14 1/2″ long. *Be sure to adjust as needed.
- Skirt can be made in either knit or woven fabric. Additional yardage will be needed for woven.
- A serger sewing machine will make this skirt come together in minutes!
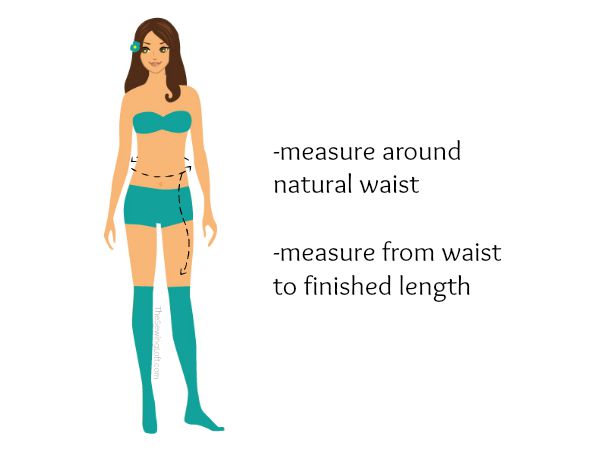
- Before we get started a few basic body measurements are needed. Measure your child’s waist and finish length of skirt from waist. Write down for later.
Cutting Instructions:
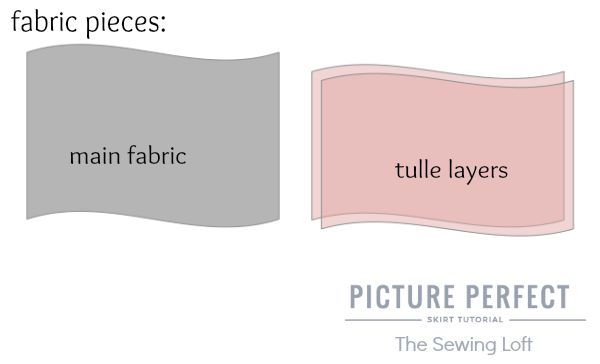
- Cut full width of fabric x finished length of skirt + 2″ for hem + 4″ waist fold over. My pattern piece measured 52″ wide x 20 1/2″.*
- Cut desired layers of tulle full width of fabric x finished length of skirt – 3″ x 2. My pattern piece measured 52″ wide x 23″.
- Cut elastic to waist measurement.
Sewing Instructions:
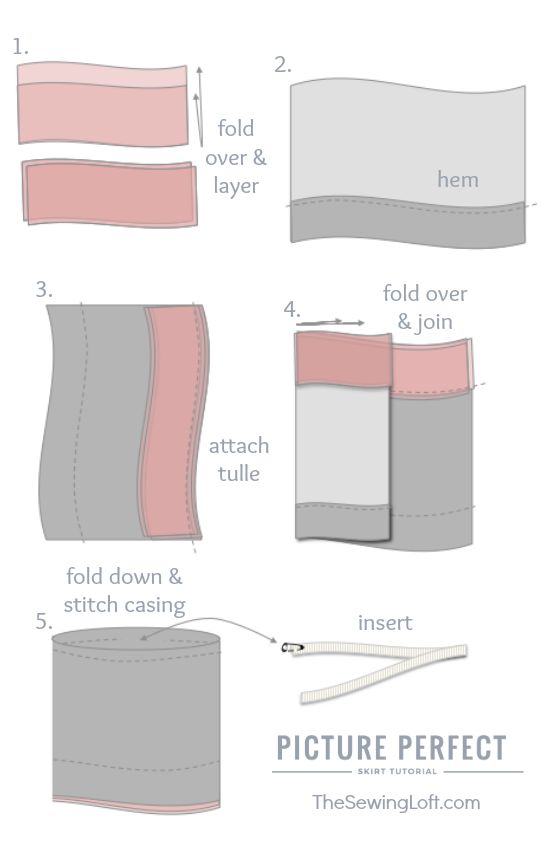
- Fold tulle in half; stack to layer.
- Serge lengthwise ends of knit fabric edges. Fold over 2″ along one lengthwise edge of fabric to the wrong side. Pin and stitch in place for hem.
- Join layers of tulle to the opposite lengthwise edge of knit fabric right sides together. Turn out.
- Fold fabric in half; stitch together.
- Fold down 4″ of fabric to wrong side; stitch 1 1/4″ casing all around leaving a small opening for elastic. Tunnel elastic; stitch to secure and close casing.
Make every picture perfect with this easy skirt tutorial! Between the peek a boo tulle layers at the bottom and the easy to wear elastic waist, this easy skirt tutorial is a winner!
Hello! Are you new to The Sewing Loft?
If so, I’m glad you stopped by and hope that something has inspired you to keep your needle moving! Don’t miss a single project and subscribe via email HERE! Bonus- free download template with newsletter sign up. Another great way to connect with me is via Facebook, Pinterest, Instagram, Google+ or Follow along with Bloglovin. I’m looking forward to getting to know you and creating together!


Comments & Reviews
I don’t understand step 4, are you sure the pictures are correct?
Sorry to hear you are having trouble Barbara. The sketches are correct. After you turn out/up your tulle layers in step 3, fold over the full width of fabric to be RIGHT sides together. Basically you will be creating a tube shape that has the tulle on one end and the finished hem at the other. These two ends will become your hems once the waist is folded over and the elastic is encased. Hope that helps!
~Heather