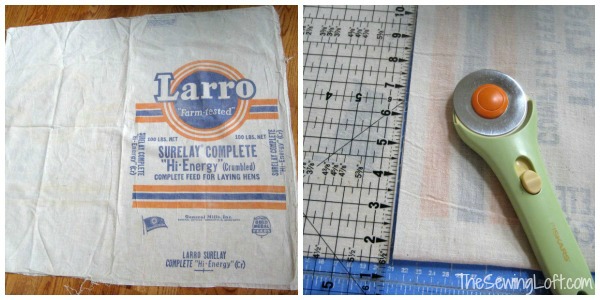
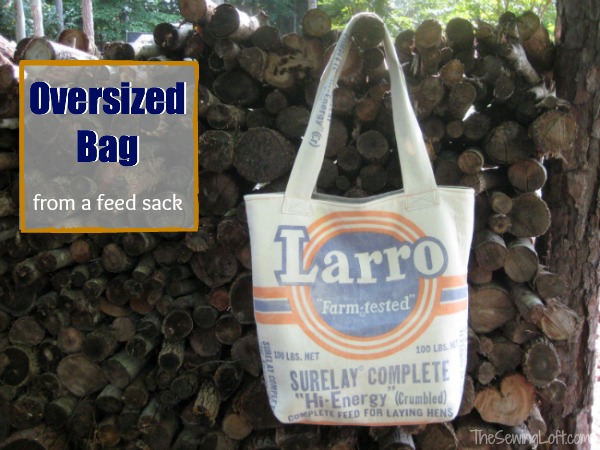
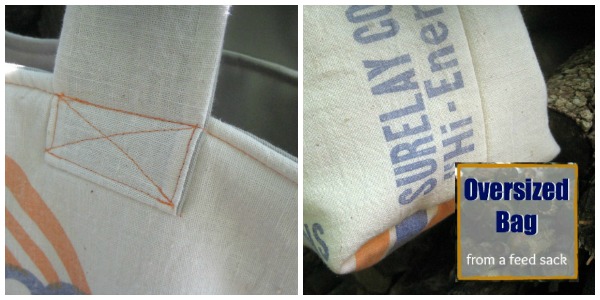
Thrifting and all things vintage are a great way for me to recharge my creative side. I just love this type of shopping and last weekend I found these really cool vintage feed sacks. When I bought them I had no clue what I was going to make but inspiration quickly came in the form of an oversized bag.
Oversized Bag
This project is for all levels.
Skill Level- 1 Button
 Supplies:
- vintage feed sack
- medium weight lining
- fusible fleece (I used Pellon TP971F)
- 20″ of thick cotton cording
*Since feed sacks come in different shapes and sizes, this tutorial will focus on the how to instructions. My oversized bag finished measurements were 21″ wide x 18″ tall and 6″ deep.
Tools:
- sewing machine
- pins
- scissors
- iron and ironing board
Basic Instructions:
1. The 1st thing I did was clean my vintage treasure, open the seam and press.
2. Cut and size your bag. Be sure to consider the print or any markings on your feed sack. Cut lining and fusible the same size.
4. Create mitered corners match the side seam to the center of bottom; fold. With your straight ruler, draw a line 3″ from the point; draw line. This is your stitch line. Straight stitch across this line. I like to stitch twice for security.
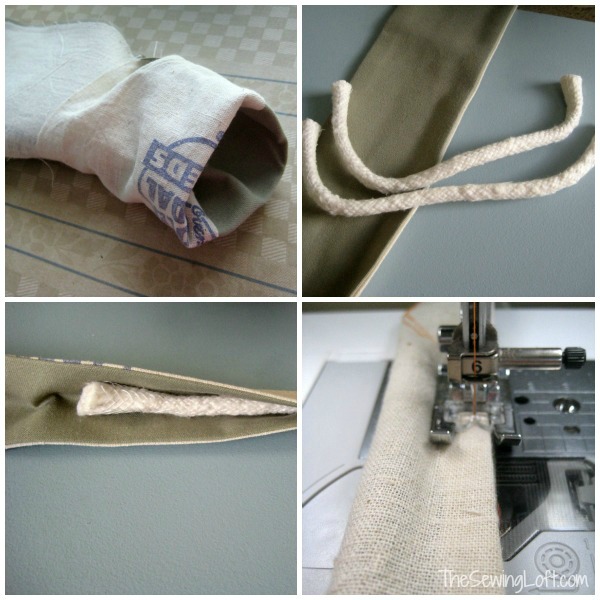
5. To create straps cut 4 pieces of fabric 3″ w x 34″ L. Stitch long sides together, turn and press. *Note you could easily cut 2 pieces 5″ W x 34″ L but I did not have enough of the feed sack left and needed to use a layer of lining. Repeat to make 2 handles.
6. Position and center 10″ of cording on the center of strap; fold over, stitch and encase cording to prevent from slipping. This is a similar technique to the rolled handbag handles.
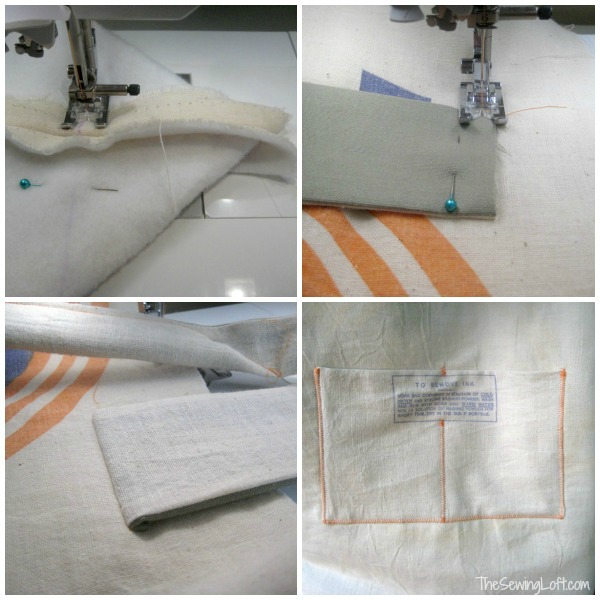
7. Position and attach your handles. I boxed and X stitched for additional security.
8. Add any pockets to outside of bag.
9. Repeat process for lining, attaching at the top edge. Turn bag right side out; press, close seam and add any addition top stitching details.
I used every last inch of this feed sack and I love the way my bag turned out. Now, I’m ready for the next treasure hunt.
Hello! Are you new to The Sewing Loft?
If so, I’m glad you stopped by and hope that something has inspired you to keep your needle moving! Don’t miss a single project and subscribe via email HERE! Bonus- free embroidery pattern with newsletter sign up.
Another great way to connect with me is via Facebook, Pinterest, Twitter , Google + or Follow my blog with Bloglovin. I’m looking forward to getting to know you and creating together!


Comments & Reviews
Love the idea! Why does the instructions start out at step 7?
Not sure what you are seeing as step 7 but it step 1 is to clean the bag and all points in-between. Not sure if there is a glitch or something out there but all looks good on my end.
~Heather
So cute! My daugther is into everything earthy, recycled and original – she will love this. Thanks for sharing!
Newbie question: I understand every step except #4. Mitered corner? Help!
Great question Kim. Be sure to check out the post with step by step instructions. https://thesewingloftblog.com/make-mitered-corners/
~Heather
Neat idea! Stopping by from Blog Hop Social Linky and following.
Where do you get feed sacks at other than the obvious to buy feed.
I am always on the hunt for vintage treasures Dianne. Keep your eyes peeled at estate sales, garage sales and more. You never know what you will find.
~Heather
Where do find the vintage feed sacks?
One of my favorite places in NC to look for all things is Metrolina Expo. Plus, I LOVE the 127 sale during the summer.
~Heather