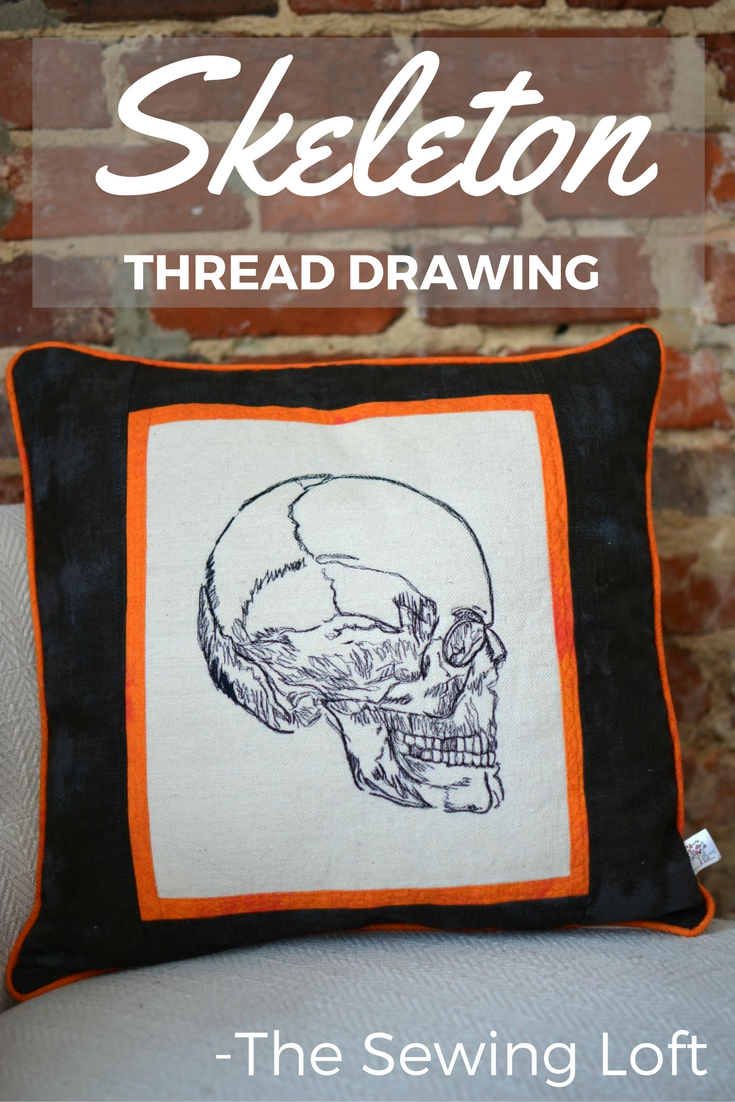
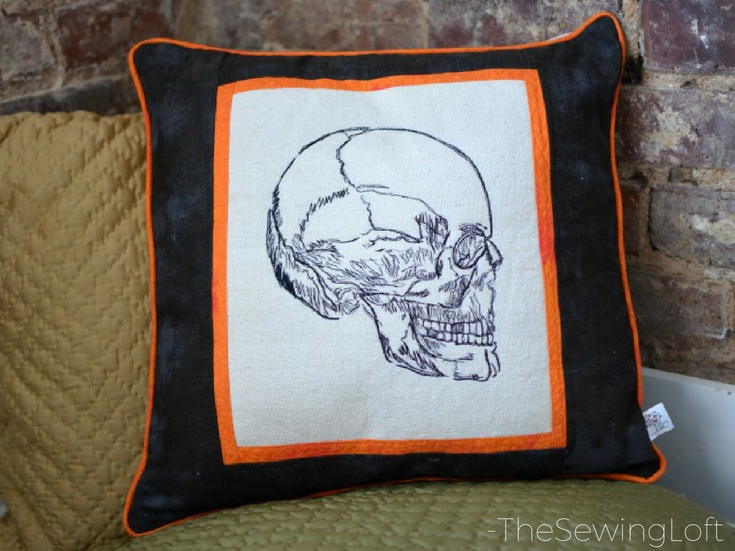
During class I often hear how my students are afraid to draw with thread and I feel like that train of thinking really holds them back. So, today’s project is all about stepping outside of the proverbial box and doing some thread drawing. I’ll show you just how easy it is to take any type of artwork and transform it into thread.
Thread Drawing Basics
This technique is for all levels.
Skill Level- 1 1/2 Buttons
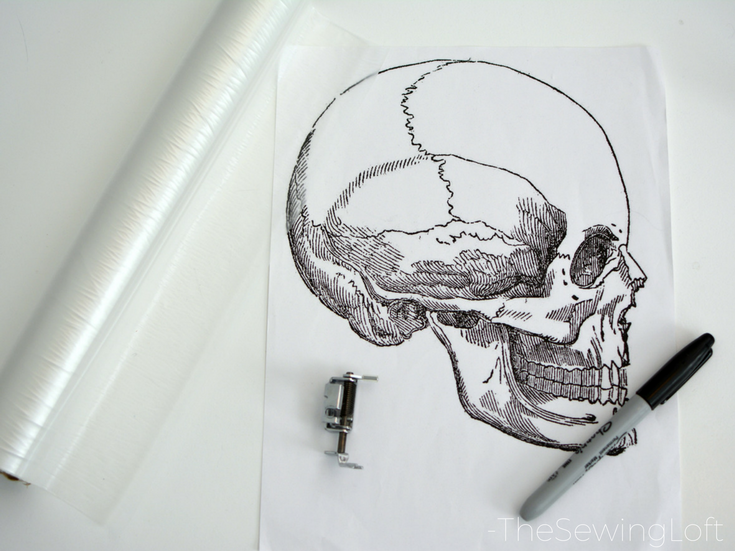
To start with, allow yourself the freedom of tracing. That’s right, find a design you like and trace it. For my Halloween inspired skeleton pillow, I used this image from The Graphics Fairy.
Additional Supplies & Tools:
- 2 contrasting fabrics
- 20″ x 20″ square of batting
- 18″ Crafter’s Choice pillow form by Fairfield
- wash away embroidery stabililzer
- piping or trim is optional
- sewing machine
- free motion presser foot
- basic sewing tools
*Note that this project can be made in any size to fit your pillow form. Not only will the layer of batting act as a stabilizer for the fabric scraps but it will help maintain a smooth outlook on your pillow. I add this to all of my pillow covers to extend their use.
Prepwork:
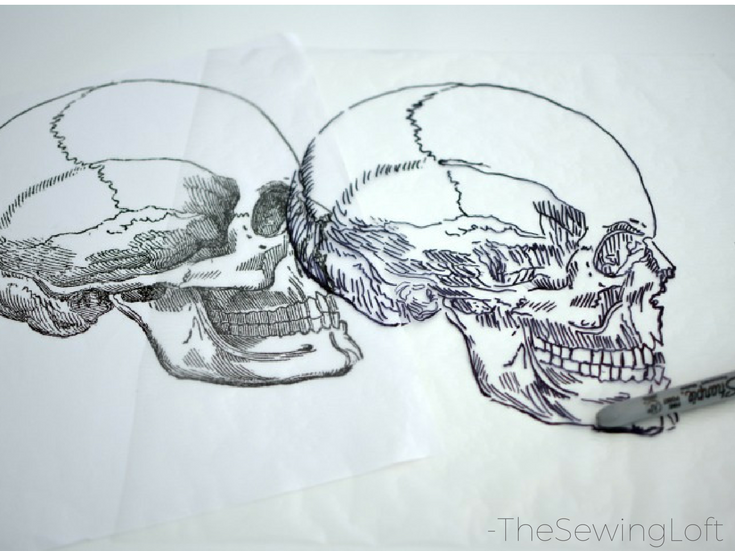
Print and tracing your design of choice onto the wash away stabilizer. You can see in the video that I used a sharpie marker but you might want to try an erasable marker to prevent color transfer. While this step is important, it is not mission critical to trace every little detail. You can add them in while sewing.
Cut fabrics as follows:
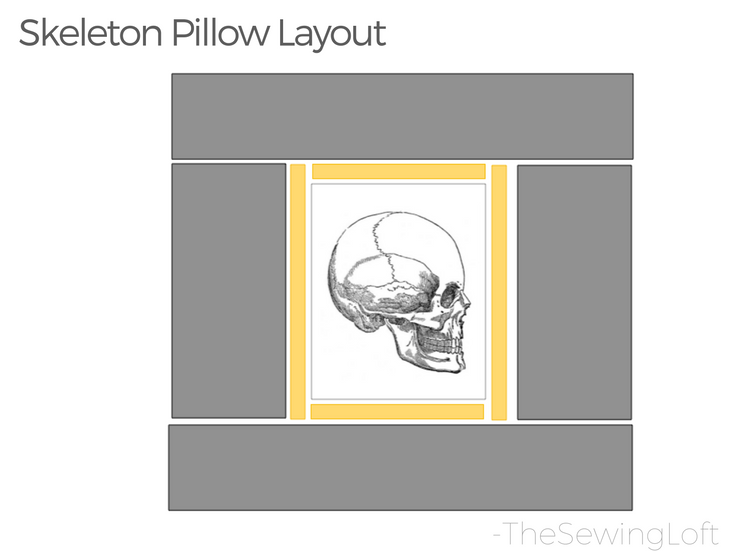
- center panel 13″ square; sub cut 10 1/2″ x 12″ after free motion thread drawing
- cut 2 orange 1″ x 10 1/2″ rectangles
- cut 2 orange 1″ x 12″ rectangles
- cut 2 black 4″ x 11″ rectangles
- cut 2 black 3″ x 18″ rectangle
Sewing Instructions:
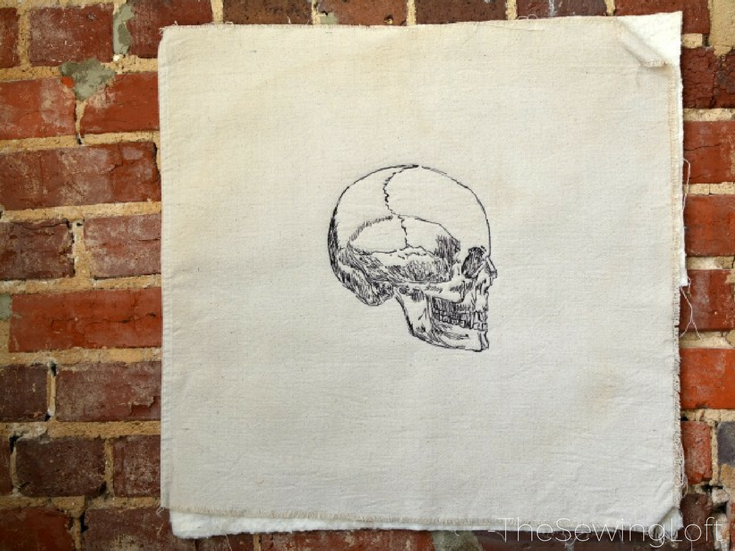
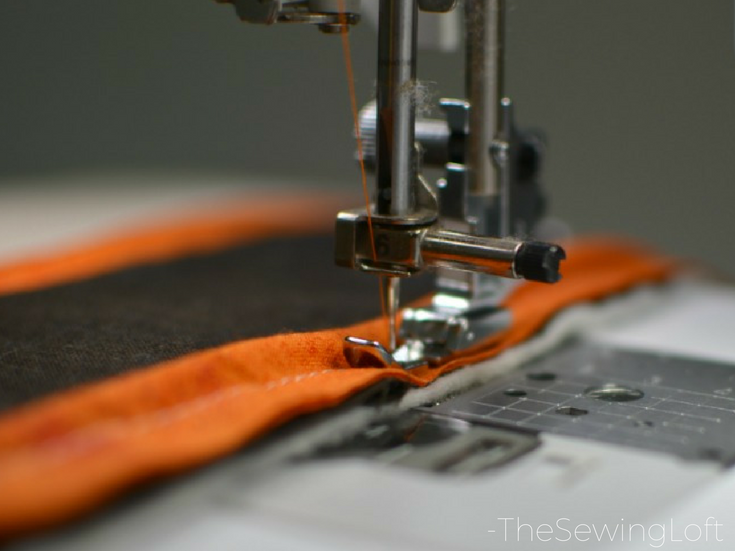
Place wash away stabilizer on-top of center fabric and pin in place to secure. **Depending on the weight of your fabric, it can be helpful to apply an additional layer of fusible stabilizer to the back side of fabric. Check with your manual and adjust your machine for free motion stitching; this includes dropping the feed dogs. With contrasting thread, begin to stitch over your design. This drawing will make it easy for you to follow. I like to sew my design in sections; stopping every once in a while to see where I would like to add additional detailing.
Once happy with the thread drawing, submerge the fabric panel with stabilizer into a water bath; agitate as needed. Once the stabilizer has dissolved, dry fabric. Using 1/4″ seam allowance, join pieces together as sketch.
Add desired top stitching and trim.
Determine and attach your backer fabric with closure method of choice; trim corners and turn right side out.
Slip pillow form inside cover and find the perfect spot to showcase your handy work!
Thread Drawing Video
Here is a quick video of my process.
You see, once you take the fear of drawing out of the process, thread drawing is really easy. Now, if you live in the local Charlotte, NC area and are ready to step outside the box again, I’ll be teaching a few free motion classes with Modern Craft Collective and would love to see you there.
**Special thanks to Fairfield World for their continued support of The Sewing Loft. Working with their products is a pleasure!
Hello! Are you new here?
Do you want to learn more about sewing? If so, be sure to sign up for our newsletter HERE and never miss a stitch! Daily Sewing Tips, Everyday Projects and Fantastic Inspiration delivered straight to your mailbox!
Bonus– free download with newsletter sign up.
Feel free to connect with me on Facebook, Pinterest, or Instagram. I look forward to getting to know you and stitching up a storm!


Comments & Reviews
I can’t find the pattern for the cute body pilllow with the side pocket.