These days I’ve been drawn to the art of quilt making. Something about the slow and steady process has been soothing during this busy time of life. While many think the process starts at the cutting table, I actually like to focus on the design aspect. From sketch to stitch, every detail is important and it is easier than you think. To help others turn their creative ideas to life, I’ve put together a list of 10 tips for designing quilts.
- Inspiration
Inspiration is everywhere including at your fingertips. From your smartphone to your latest adventure you just have to be open to finding it. For those that want to hunker down and scroll through a cornucopia of visual eye candy, Pinterest is your friend. With just one search you can find many fantastic ideas. I suggest you step outside the quilt-box for your searches. Consider looking at wallpaper, rugs, tile and more. You can find/follow other boards that inspire you and even create a dedicated board for your designs.
2. Finished Size
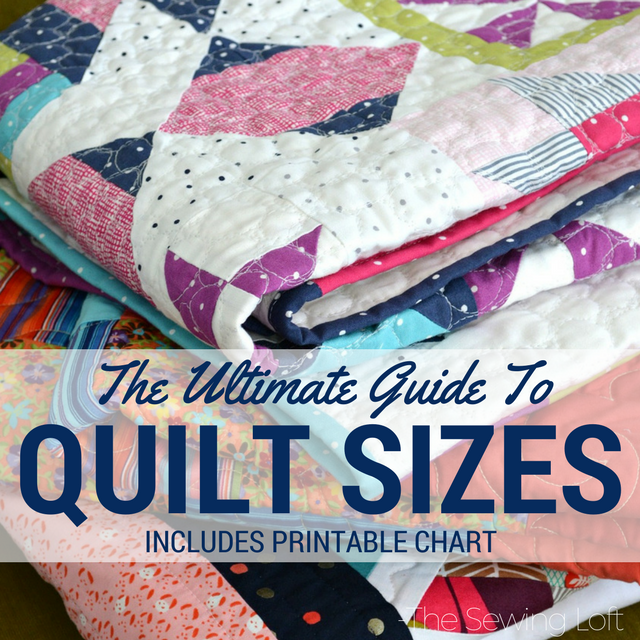
Quilts come in all different shapes and sizes but it is best to consider the end use for your quilt from the start. Here is the ultimate guide on quilt sizes.
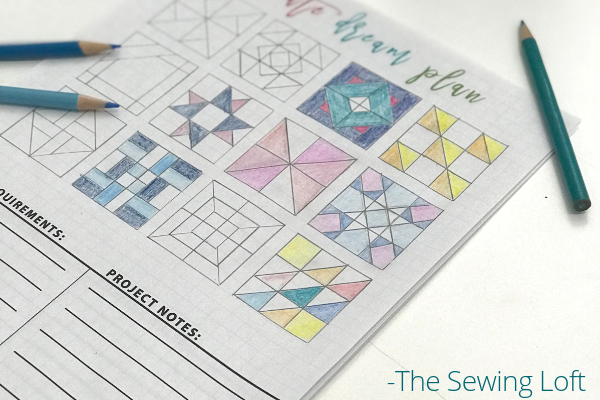
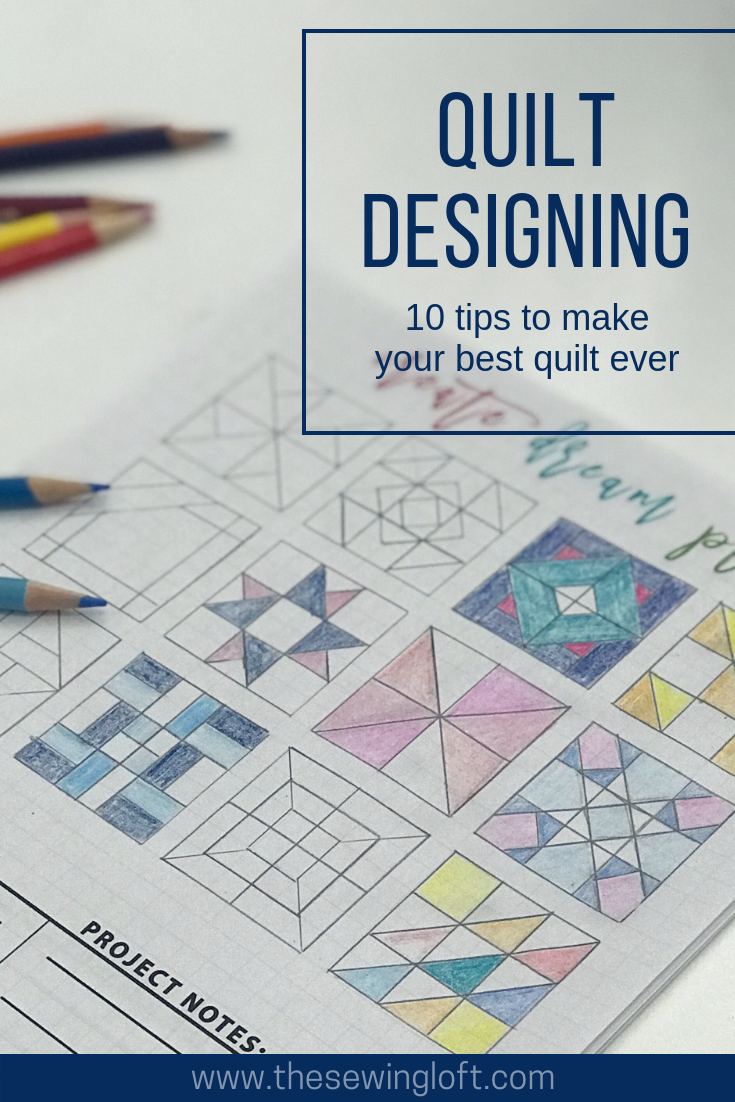
Pick up that pencil and just start drawing. To keep things on scale, I suggest using graph paper. Graph paper comes in all different sizes and shapes. Depending on your design, you may want to consider branching beyond the basic square. Here is a printable bundle pack to get you started.
4. Setting
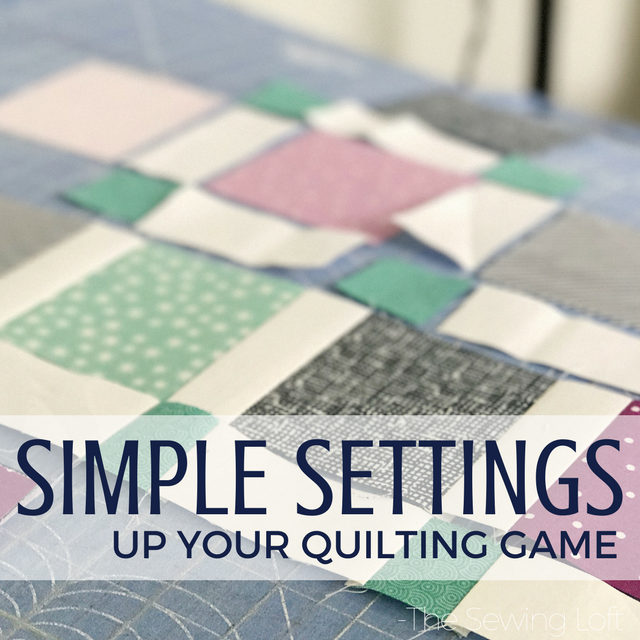
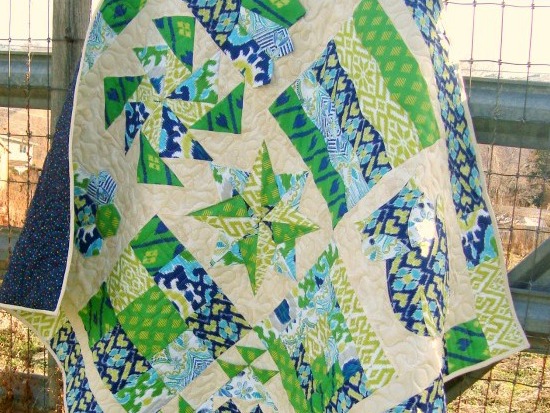
Switching the direction of a standard quilt block can change the overall look and feel of any design. A few common layouts include:
- Horizontal
- On-Point
- Variable Point
- Horizontal or Vertical Stripe
- Custom Set
Need help setting your blocks? Be sure to check out my quilt layout bundle pack. It includes 6 simple layouts in 5 different sizes and will take all of the guesswork out of your process.
5. Borders & Sashing
If you’re looking for a way to frame your design, borders & sashing is the way to go! I like to think of these as a mat inside a picture frame. Not only does it help draw your attention to the design but it can also extend the size of your work.
6. Backing
Quilts are double sided yet so many stitchers only focus the front and use a wide back fabric for the backside. If time allows, I encourage you to consider piecing your quilt back or adding an extra quilt block from the front design. This will really allow you to use the quilt on either side.
7. Quilting
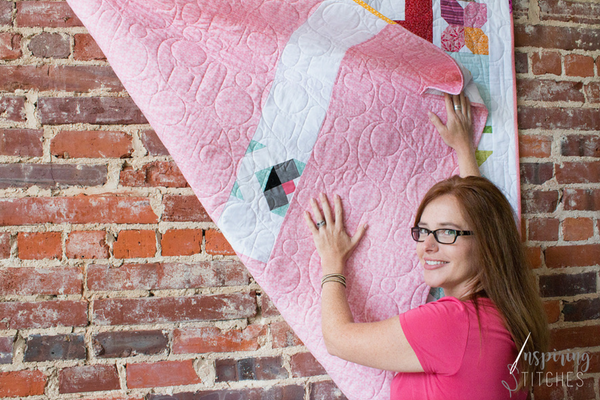
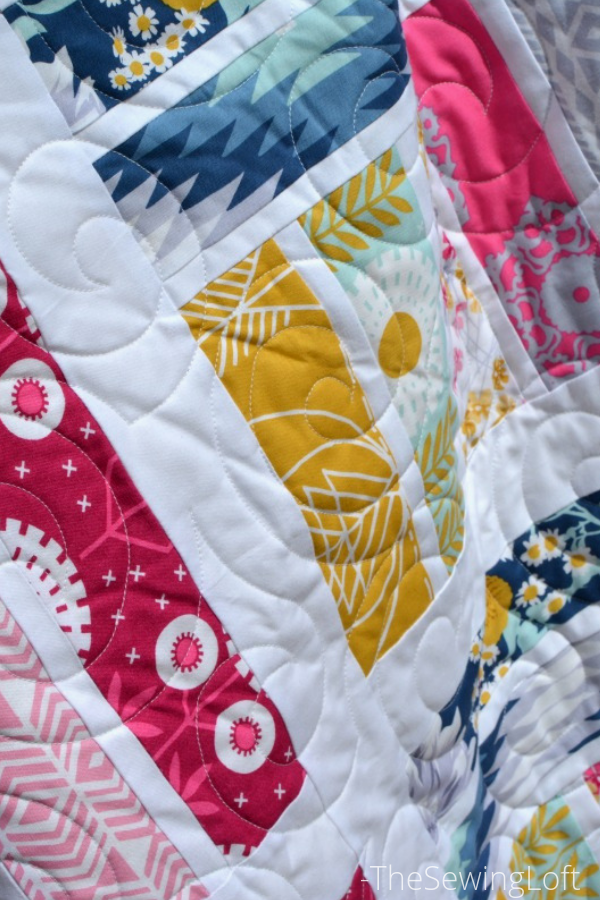
From hand tied knots to intricate long arming details, quilting is achievable at every skill level. The stitching of the sandwich layers is what holds everything together, adds dimension and an additional layer of artistic style. This layer of needlework can be done on a domestic machine or a special long-arm machine with frame.
8. Binding Matters
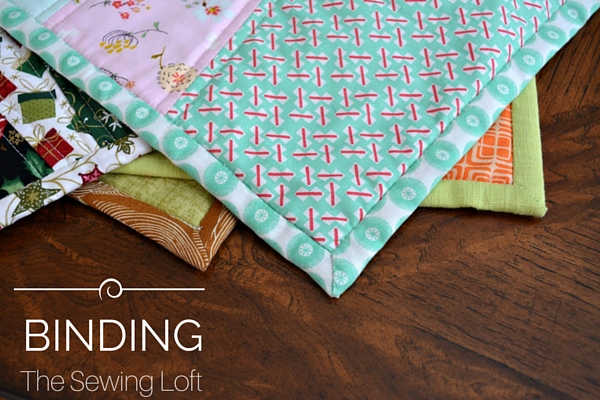
After all of your layers are stitched together, it’s time to finish off your edges. Binding can be cut on straight grain or bias. This is determined by the shape of your quilt. For example: the natural stretch provided by the bias binding is typically used along a curved edge. Learn more about binding basics here.
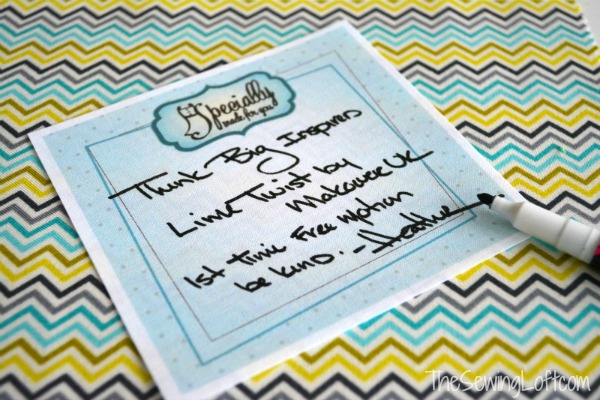
Your in the home stretch and ready to wrap up your quilt but before you do, I highly recommend you add a label to your quilt. Labeling your quilt is especially important if it is being given as a gift.
10. Storing
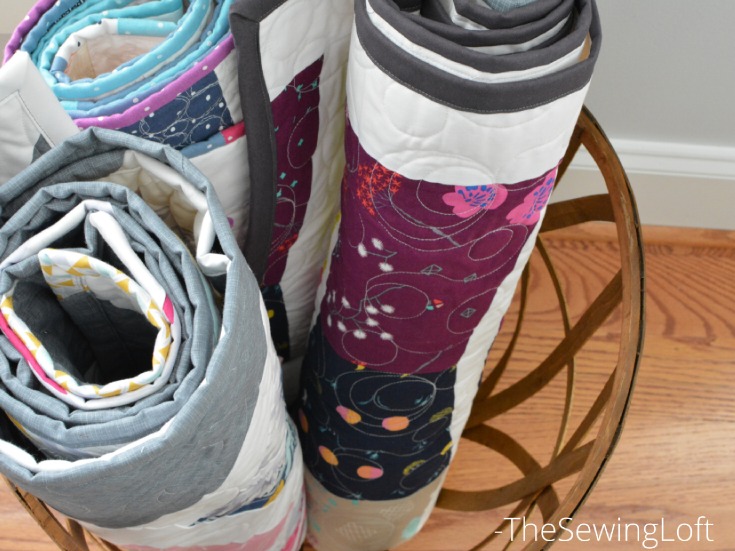
You’ve designed this amazing quilt, stitched it to perfection and now, it’s time to think about where it will live when not in use. Here are some creative quilt storage ideas to help showcase your work for all to enjoy.
10 Tips for Designing Quilts
Now that you’ve got the basics of designing quilts down, it’s time to jump right in and get started. I suggest you download this free printable, grab your colored pencils and just start playing. It’s super fun and it you’re not careful might just become your next creative passion!
Hello! Are you new here?
Do you want to learn more about sewing? Be sure to sign up for our newsletter HERE and never miss a stitch! Daily Sewing Tips, Everyday Projects and Fantastic Inspiration delivered straight to your mailbox!
Bonus– free download with newsletter sign up.
Feel free to connect with me on Facebook, Pinterest, or Instagram. I look forward to getting to know you and stitching up a storm together!



Comments & Reviews
Hi Heather I just wanted to say hello and thank you for all of your very informative tips on sewing, I look forward to your email newsletters and there’s always something fun for me to find out and projects to do thank you
Just plodding along try to sew every day as I now have at least a dozen ufos. I try to finish one every week.
I don’t know what happened but I could here you but no can see. Arn
Hi Heather,
I am looking forward in following you to gain inspiring ideas and learn creative approaches to quilts. Thank you for all your postings and project ideas.
Awesome blog. Have just started following blog posts and can’t get enough of them. Definitely feeding my current obsession.