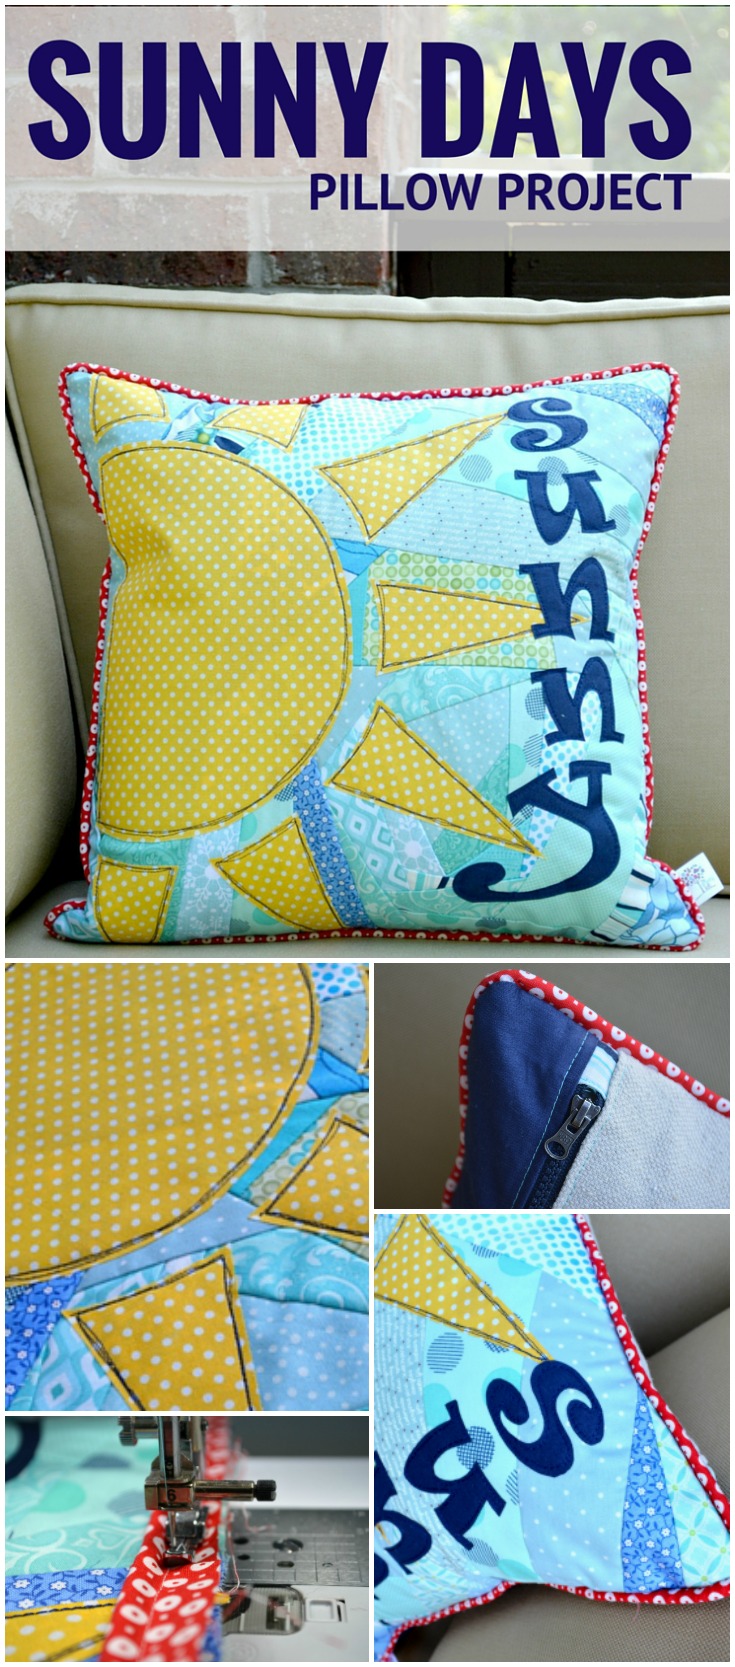
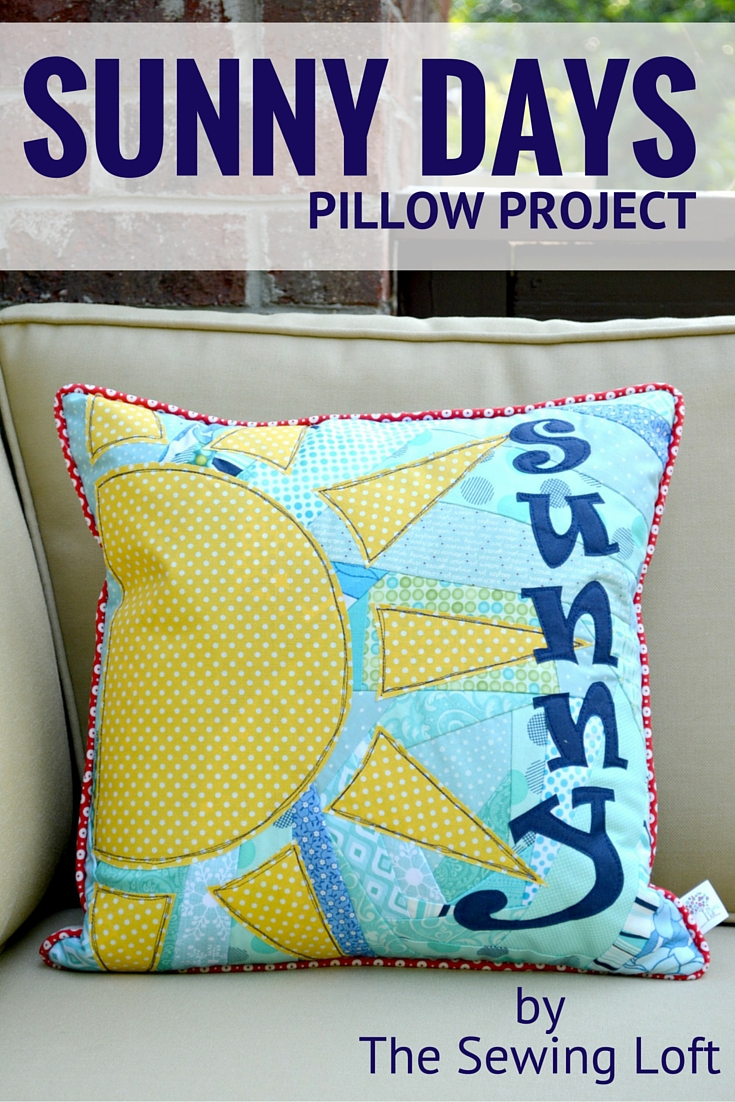
This week marks the last of the school year for my girls and I’m picturing nothing but sunny days ahead. To help celebrate how lucky they are I made a fun new pillow cover; Sunny Days Pillow.
Sunny Days Pillow
This project is for all levels.
Skill Level- 1 Button
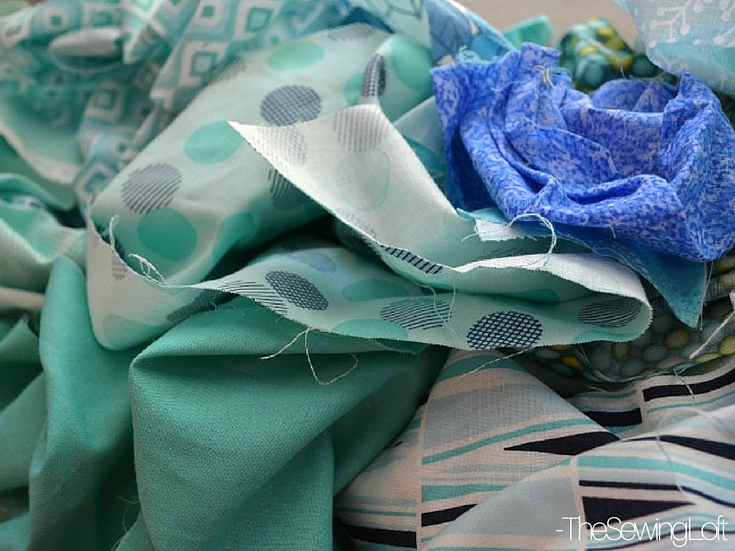
Not only is this project a complete scrap buster but the bright, cheery outlook just makes me smile. I pulled out every scrap piece of blue fabric I had in my stash.
Materials:
- fabric scraps
- 17″ x 17″ square of batting
- 16″ Crafter’s Choice pillow form by Fairfield
- fat quarter fabric for the pillow backing
- double-sided fusible
- zipper & piping are optional
Tools:
- sewing machine
- basic sewing tools
*Note that this project can be made in any size to fit your pillow form. Not only will the layer of batting act as a stabilizer for the fabric scraps but it will help maintain a smooth outlook on your pillow. I add this to all of my pillow covers to extend their use.
Sunny Day Pillow Instructions:
- Start with pre-pressed scrap pieces of fabric. Cut a 17″ x 17″ square of batting.
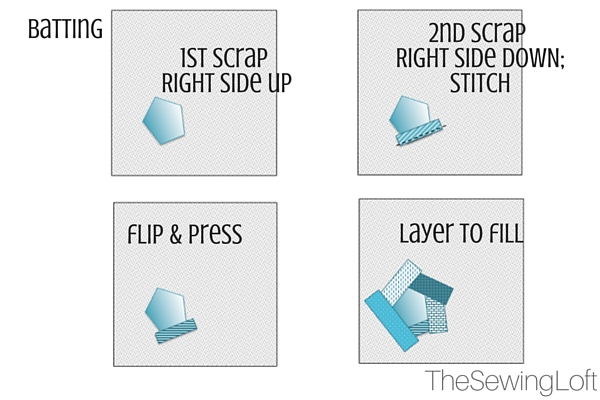
- Create your fabric sandwich like so: a layer of batting and then your 1st scrap positioned in place right side up.
- The 1st layer of scrap fabric should be an odd shape created from straight lines and can even be a little off-kilter. Place and pin the scrap towards the upper corner of the square; right side or pretty side up. All around machine stitch fabric scrap in place.
- Now, let the games begin! Starting with a fabric scrap long enough to cover the base layer, place right sides together and stitch 1/4″ from the edge; flip fabric strip over and press. (this is called the stitch and flip method.)
IMPORTANT TIPS:
- Pressing counts- big time! Pressing after each piece will keep your fabric smooth and prevent unsightly puckering.
- Uniform seam allowance is your friend.
- Trim away excess fabric only after you have flipped and pressed your scrap in place.
- Combining fun prints in the same color value will create an amazing background.
Applique Designs:
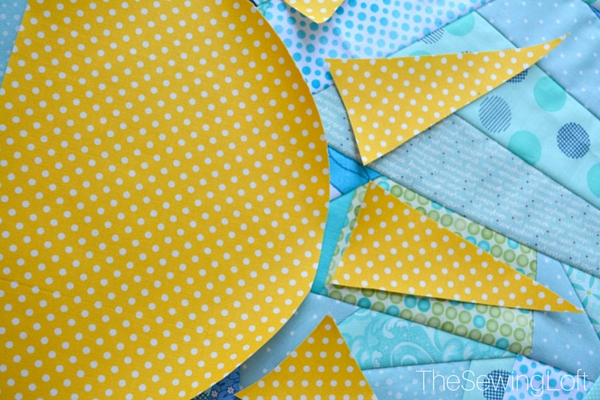
Once the batting is covered, it’s time to draw the design. Have no fear, this took no artistic skill just a standard plate from my kitchen and pencil!
- Grab a plate from the kitchen, a pencil, and the double-sided fusible. Lay the plate on the fusible and trace. Then draw several long triangles to make the rays. Fuse to fabric following the manufacturer’s instructions.
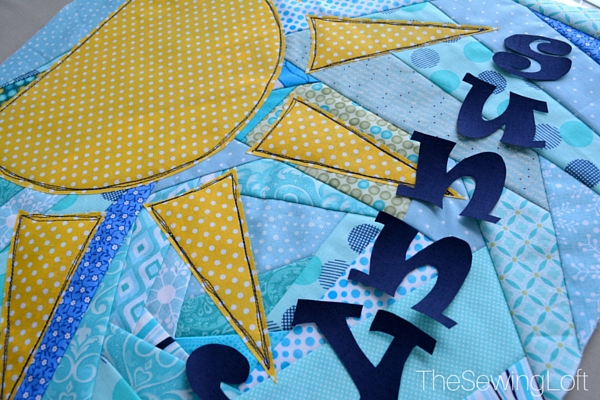
- Position and fuse to your pillow front as you like. To allow for extra room I placed mine to the left.
- I repeated the process to create the word SUNNY using my funky applique template.
- Using a contrast thread; add an outlining stitch around the edge of each applique piece. To add extra texture, I used rayon navy thread with free motion embroidery.
- Trim your pillow front down to size once everything is fused and stitched in place. Mine measures 16 1/2″ since my pillow form is 16″ square. This allows for seam allowance and a nice snug fit of the form. Repeat with pillow backing fabric.
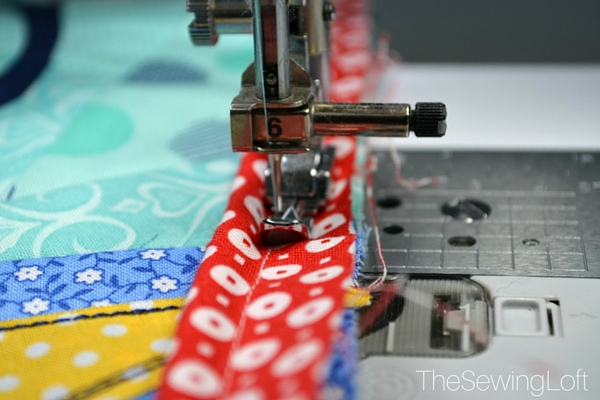
- Using my narrow zipper foot and cording, I created and attached custom red piping for a splash of color.
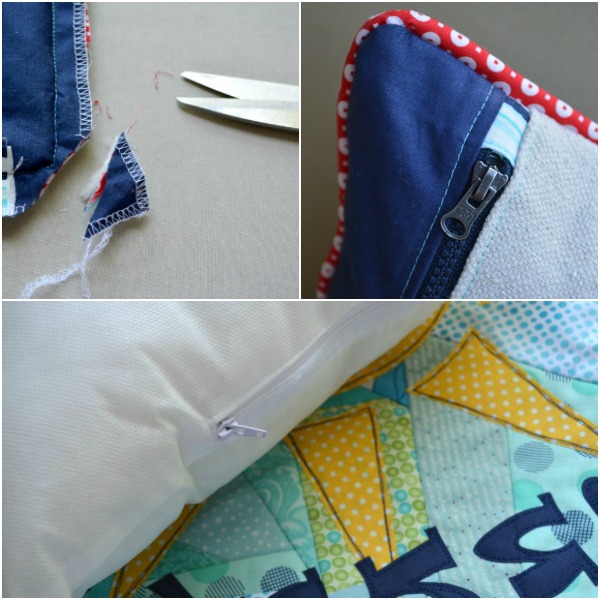
- Attach backer fabric with closure method of choice; trim corners and turn right side out. Slip pillow form inside cover and find the perfect spot to showcase your handy work!
*This blog post has been converted to an optional PDF that’s optimized for printing and ad-free. Find more here. The blog post is totally free to read, print, and sew! The PDF tutorial & download for $2 is totally optional.
**Special thanks to Fairfield World for their continued support of The Sewing Loft. Working with their products is a pleasure!
Hello! Are you new here?
Do you want to learn more about sewing? If so, be sure to sign up for our newsletter HERE and never miss a stitch! Daily Sewing Tips, Everyday Projects and Fantastic Inspiration delivered straight to your mailbox!
Bonus– free download with newsletter sign up.
Feel free to connect with me on Facebook, Pinterest, or Instagram. I look forward to getting to know you and stitching up a storm!


Comments & Reviews
The sunny day pillow is so cute!
I am in the process of making a wedding dress for a friend, so I will be looking at your rolled hem and zipper articles!
Paula