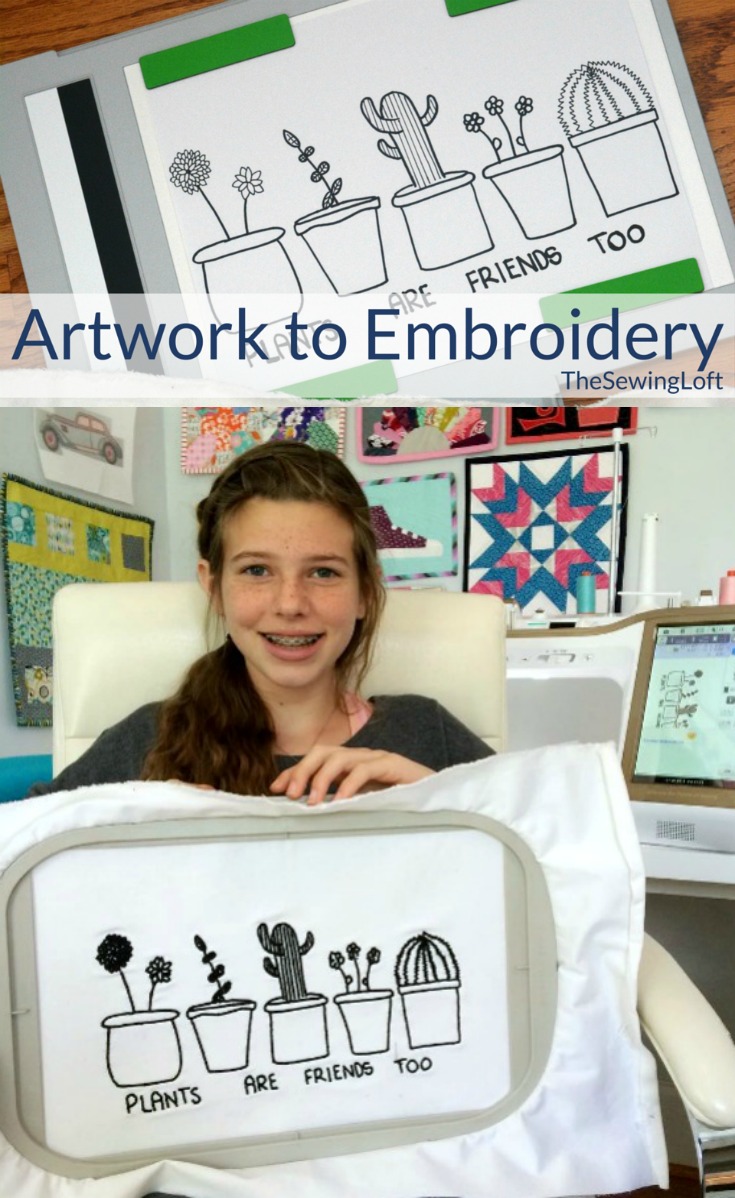
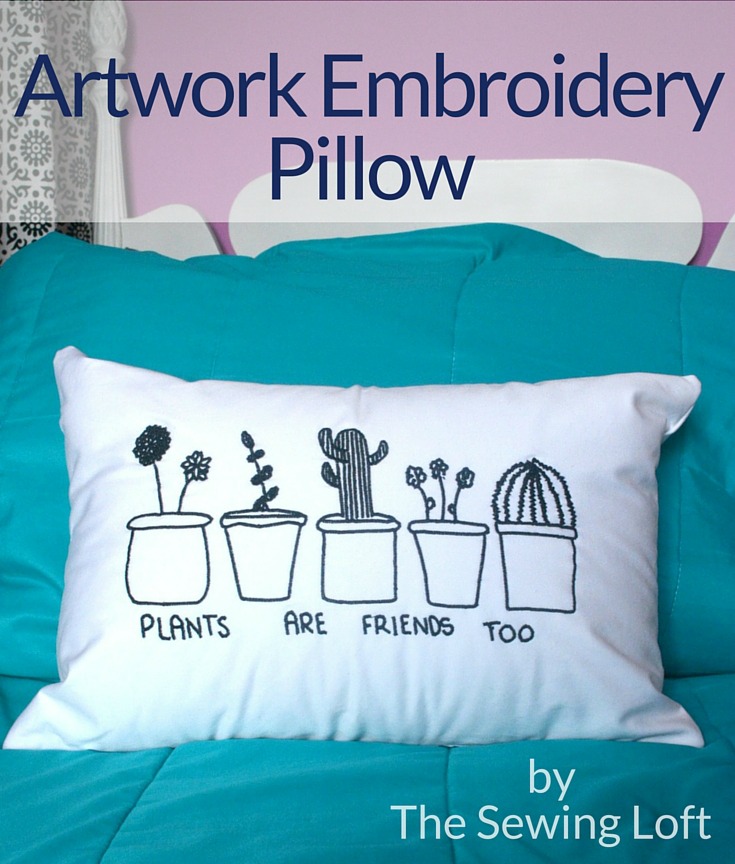
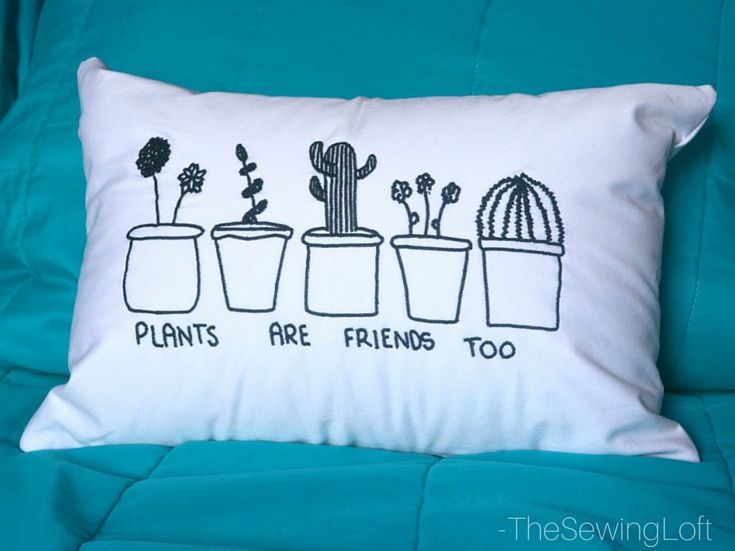
My youngest (Missy S) is in love with the fresh modern look that’s ever so popular right now and she has been begging for new pillows. So, to motivate me along in the process she came to me with a fun drawing. Her plan was simple, artwork embroidered pillows. Now, at first I was thinking this was crazy to do by hand but my little smarty pants reminded me of the cool feature my Baby Lock Destiny has…. the IQ Designer.
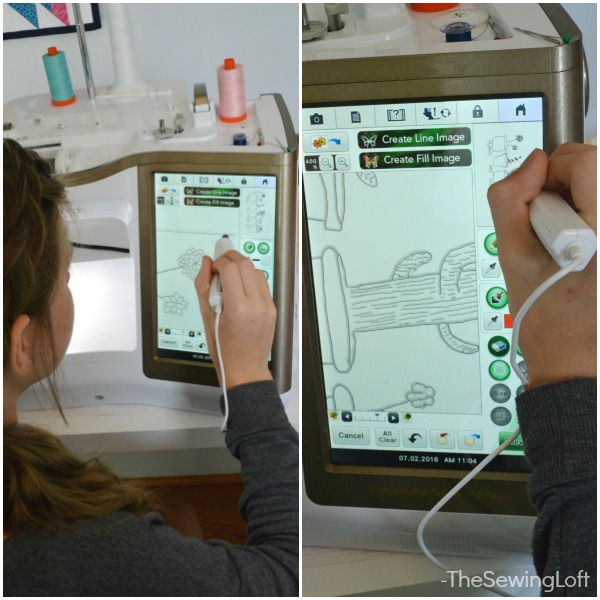
This feature allows you to scan in any line drawing and transform it into an instant embroidery pattern.
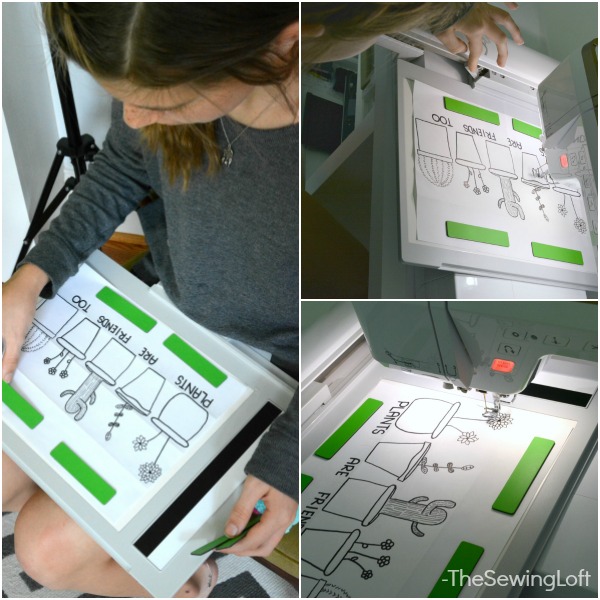
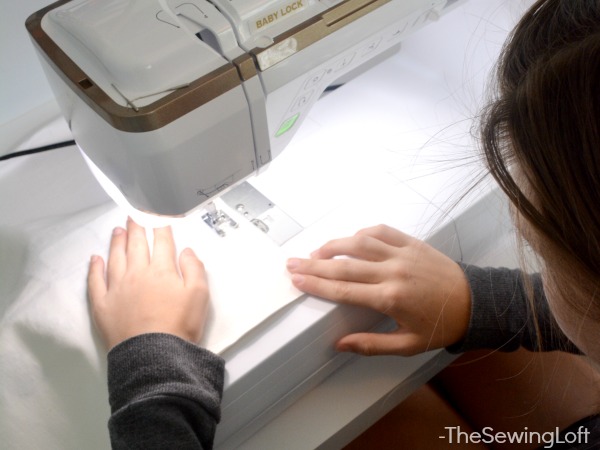
She quickly went to work placing her artwork on the tablet being carful to position the magnets properly and loading up the machine.
It was so fun to watch her use the editing software to fine tune her artwork.
Once happy with the design, she prepared the fabric with stabilizer for embroidery and watched the machine do it’s magic! She even created a time lapse video on her phone of the machine stitching out her artwork embroidery.
As soon as embroidery was done, it was clear the pillow had be rectangle and the 12″ x 18″ pillow form from Fairfield was perfect!
Artwork Embroidery Pillow
This project is for all levels.
Skill Level- 1 Button
Materials:
- artwork or embroidery design
- half yard of fabric
- interfacing/stabilizer
- 12″ x 18″ pillow form by Fairfield
- Contrast Embroidery Thread
- batting is optional
Tools:
- sewing machine
- basic sewing tools
*Note that this project can be made in any size to artwork embroidery design.
Basic Instructions:
Missy S was really determined to do the pillow herself. So, that meant I just needed to help the process along by cutting the fabric to size and showing her my basic pillow construction tutorial. The rest was up to her.
She layered the pieces right sides together, stitched around three sides and even clipped the corners. Once the pillow was turned right side out, she turned it over to me and declared that she had NO interest in hand stitching. Luckily, I have experience in this area and had it stitched up in no time flat.
To give the pillow a snug fit, I cut the fabric and batting 13″ x 19″ and used a 1/4″ seam allowance. Because she is still learning, it would have been better to cut the fabric slightly larger and allow more room for sewing.
IMPORTANT TIPS:
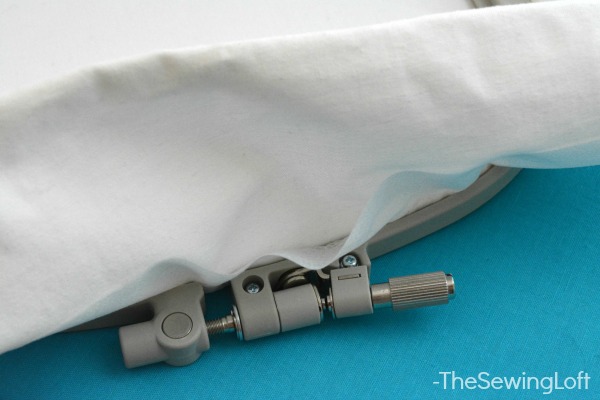
- Stabilize your embroidery hoop. The type of stabilizer will depend on your main fabric.
- Switch your standard needle to an embroidery needle.
- Add a layer of batting to your pillow front for a professional finish.
- Don’t forget to press your seams.
- Trim away excess fabric in corners for a sharp point.
This artwork embroidery pillow is a perfect example of how sewing with kids can be so rewarding. You just need to keep their skill set and interests in mind.
Be sure to check out this line up for more easy sewing with kids projects.
**Special thanks to Fairfield World for their continued support of The Sewing Loft. Working with their products is a pleasure!
Hello! Are you new here?
Do you want to learn more about sewing? If so, be sure to sign up for our newsletter HERE and never miss a stitch! Daily Sewing Tips, Everyday Projects and Fantastic Inspiration delivered straight to your mailbox!
Bonus– free download with newsletter sign up.
Feel free to connect with me on Facebook, Pinterest, or Instagram. I look forward to getting to know you and stitching up a storm!


Comments & Reviews
Where is the software coming from? Is it installed on the sewing machine? Which machine it?
Hello Amy,
Thank you for your note. The software used in this project is included in the BabyLock Destiny. The machine is amazing and I use mine everyday. Be sure to stop by your local dealer to learn more. They are a so helpful!
-Heather