Happy New Year, I’m excited to start our adventure together! So many folks make big resolutions and goals for the year ahead but not me. Instead, I like to keep my focus on a few sewing secrets that will help set me up for a year of success at the machine.

Like most of you, I’ll be doing some basic housekeeping in my world and even around the studio. That means I’ll be giving my machine a good cleaning, replacing my needles, rotary blades and ditching any bent pins in my stash.
I know these basic steps seem like no biggie but I often push them off. Like, when I’m in a rush to finish a project, I pray my bobbin has enough for just one more seam!! Or when my rotary cutter starts getting dull I find myself saying, just one more slice, please!
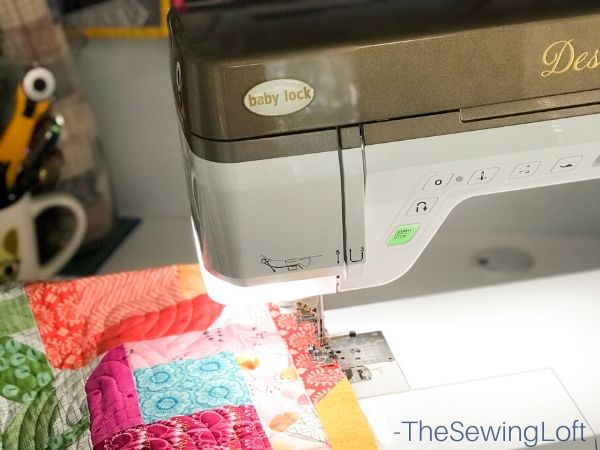
With limited sewing time available, I get it. But in order for us to make the most of our time together, it’s best to keep our tools fresh and in the best condition possible.
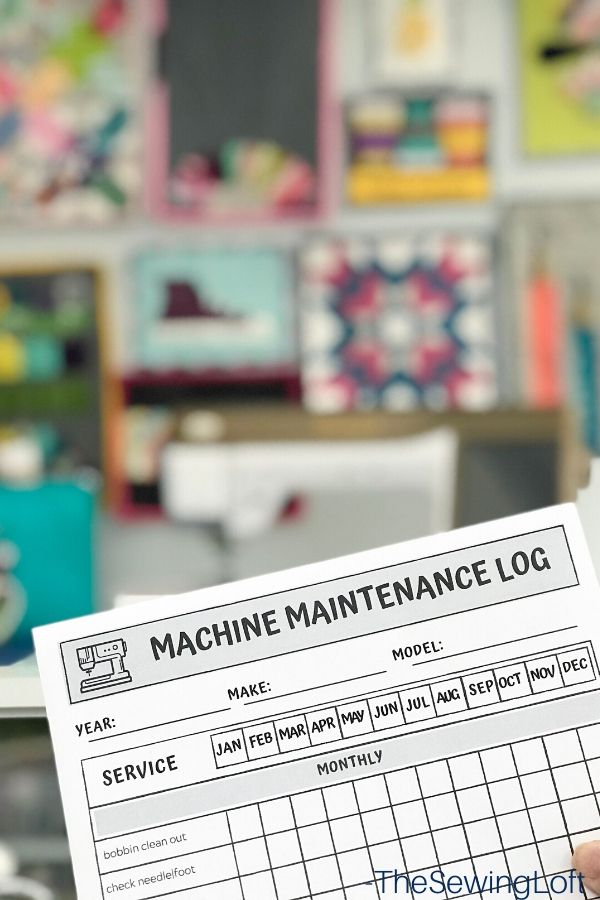
To get started, I put together a quick list below of 5 easy steps. I consider these my sewing secrets for success! I even made a FREE bonus printable for machine maintenance. You can download it in the shop by clicking the button below.
5 Sewing Secrets for Success
- Basic machine maintenance is beyond important and I suggest starting here, by getting your most important tool in tip-top shape. A simple clean out of the bobbin area can help keep those fabric dust bunnies from multiplying like mad.
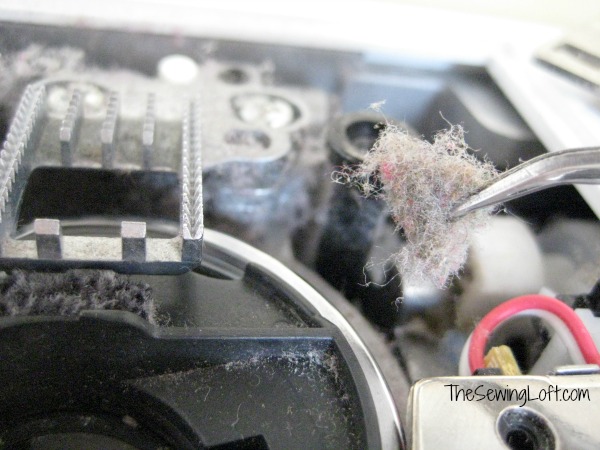
Cleaning out your machine is so much easier than you might think and takes very little time. I even put together a quick video here to show you how.
To help get in all of the nocks and crannies under the hood, be sure to make one of these pipe cleaner brushes. Then the next time you place a fresh bobbin in the basket, you can be sure that all of the sensors will work, alerting you when it’s about to run out!
2. Now that your machine is clean, it’s time to put in a fresh needle. This small task will help prevent stitches from skipping, keep your seams tight and your machine running smooth.
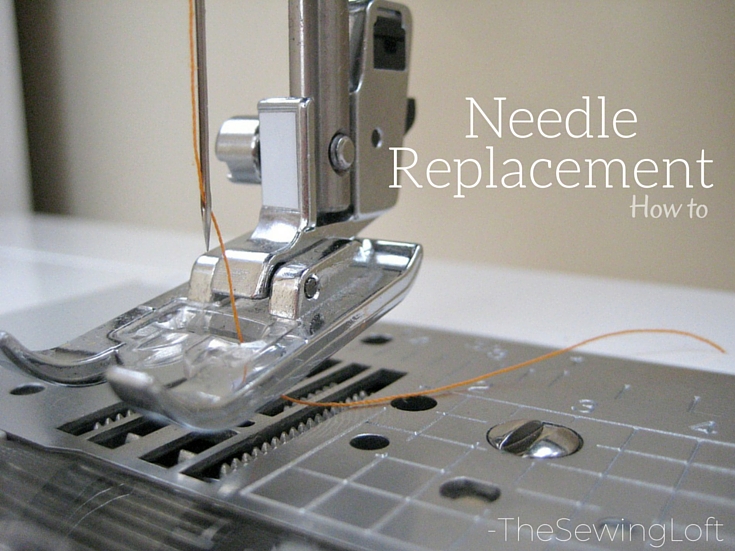
Even if your eyesight is 20/20, the auto threader can make the job easier. Not sure what an auto threader is? Be sure to watch my video here.
3. Project work starts on the cutting table and if you have never changed a rotary blade before, trust me… NOW is the time! I promise, its really easy and does not have to be scary. Here is a quick guide to swapping out your blade.

4. Another important player in our tool belt is our iron & pressing station.
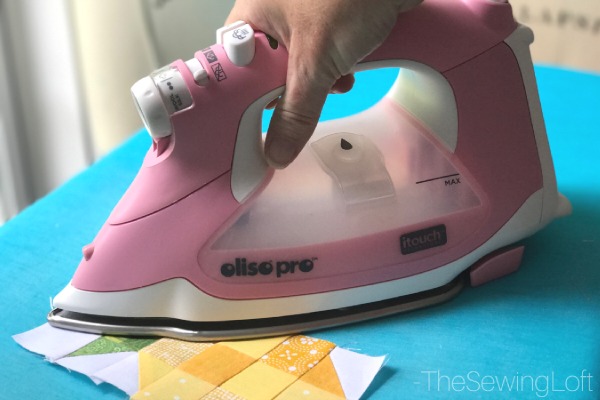
To avoid any unwanted markings left on your fabric, it is important to keep your iron clean. So, if you notice any crude on the bottom of the pressing plate, now is the time to clean it. Here is a quick video to show you just how easy it is!
This little tool is my silent workhorse in the studio and I LOVE it! Interested in learning more about my Smart Iron? Be sure to click here. I’ll show you all the reasons why it’s the only one I reach for and share my special discount code for you to order one for your studio.
5. Now that you have your sewing tools all cleaned up and ready to go, let’s be sure to organize the pattern library. These days so many patterns are available as instant downloads and our computers are overloaded with PDF files. That means PDF Management is needed! Be sure to check out all of my tips here.

Now that your tools are ready for action, it’s time to start thinking of your works in progress!
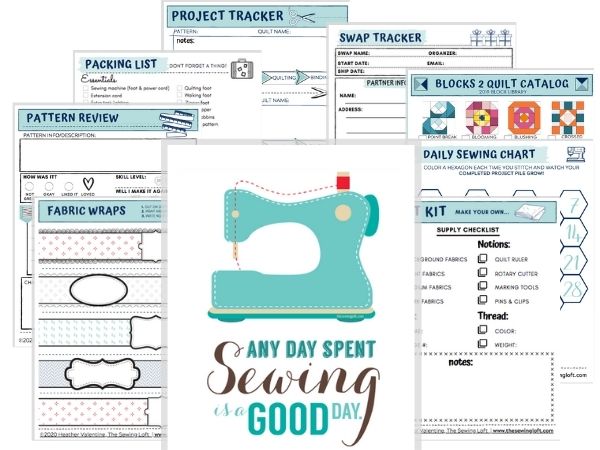
To help you make the most of your time at the machine and finally finish all those orphan quilt blocks, UFO’s and special projects, I’ve created this Sew Organized Printable Pack. It’s filled with over 30 printable sheets to keep you on track and stitching up a storm!



Comments & Reviews
THANK YOU for the Machine Maintenance LOG download! I belong to a quilt guild & sewing guild, and when asked to speak, or share something, I’ve asked the members if they know what the most harmful thing is to their machines… LINT! DIRT! DUST! I’m sharing your web site w/ my guilds! 🙂 This is VALUABLE information!